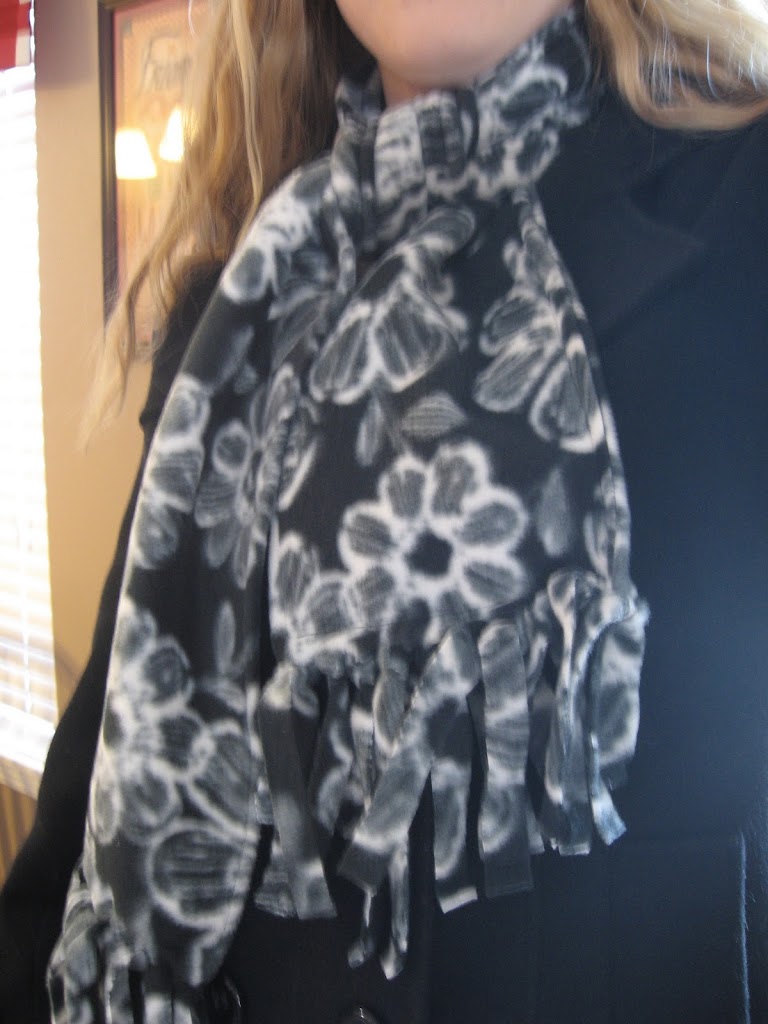
I made this scarf in less than an hour. The doubled fleece makes it really warm which is good because we are experiencing below zero temperatures this week. Also fleece is usually on sale this time of year because stores are making room for spring fabrics so buy it up! I thought I’d do a tutorial in case anyone else wanted to make one too. It’s a really easy scarf to do for a beginner.
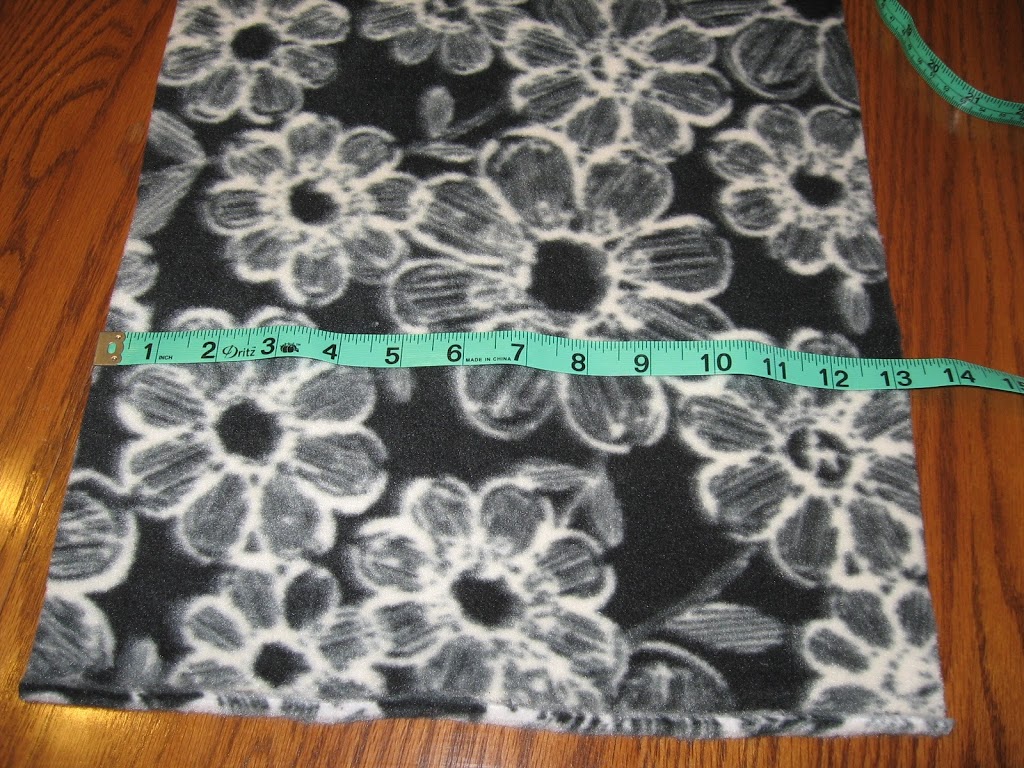
Start by cutting a 13″ X 60″ piece of fleece. (This makes a 6″X 60″ scarf. You can adjust the measurements to make the size that you prefer.)
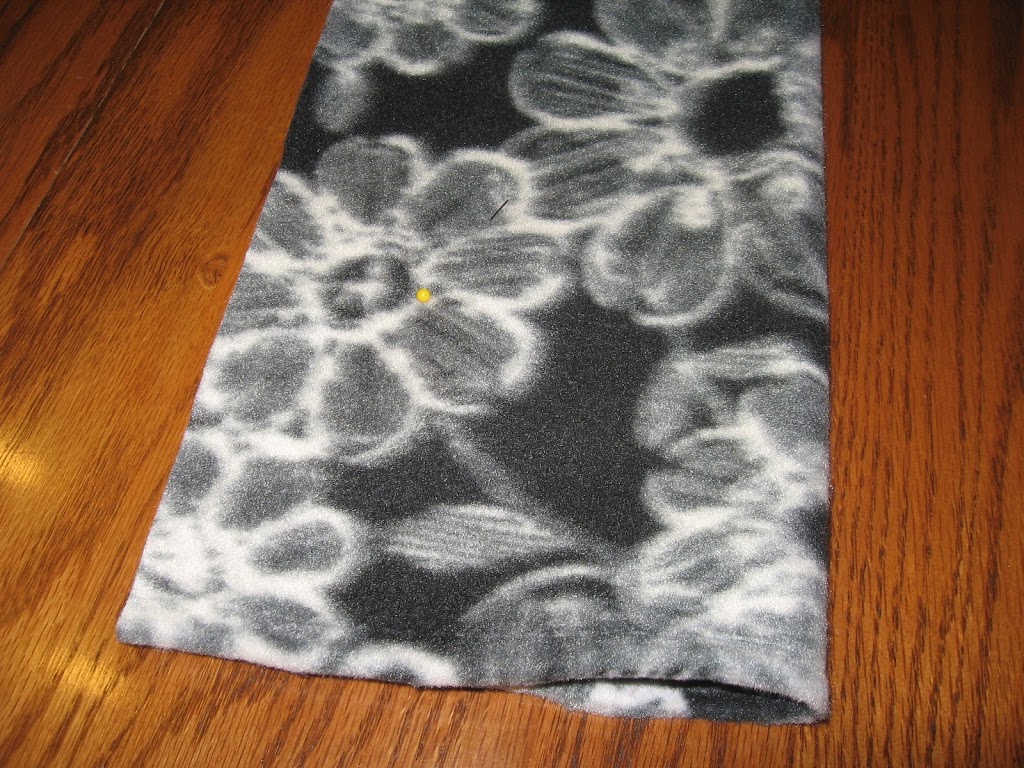
Then fold your fleece in half lengthwise with right sides together. (This means that the wrong sides will be facing out.) Fleece stays put pretty well, but you can pin it if you would like.
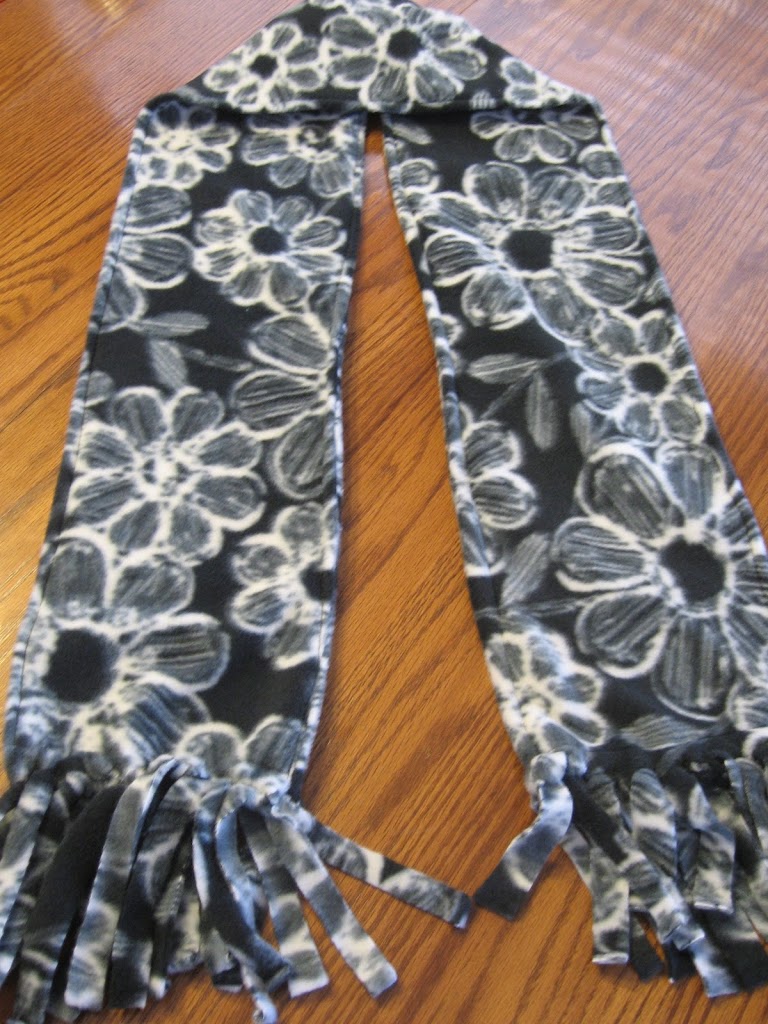
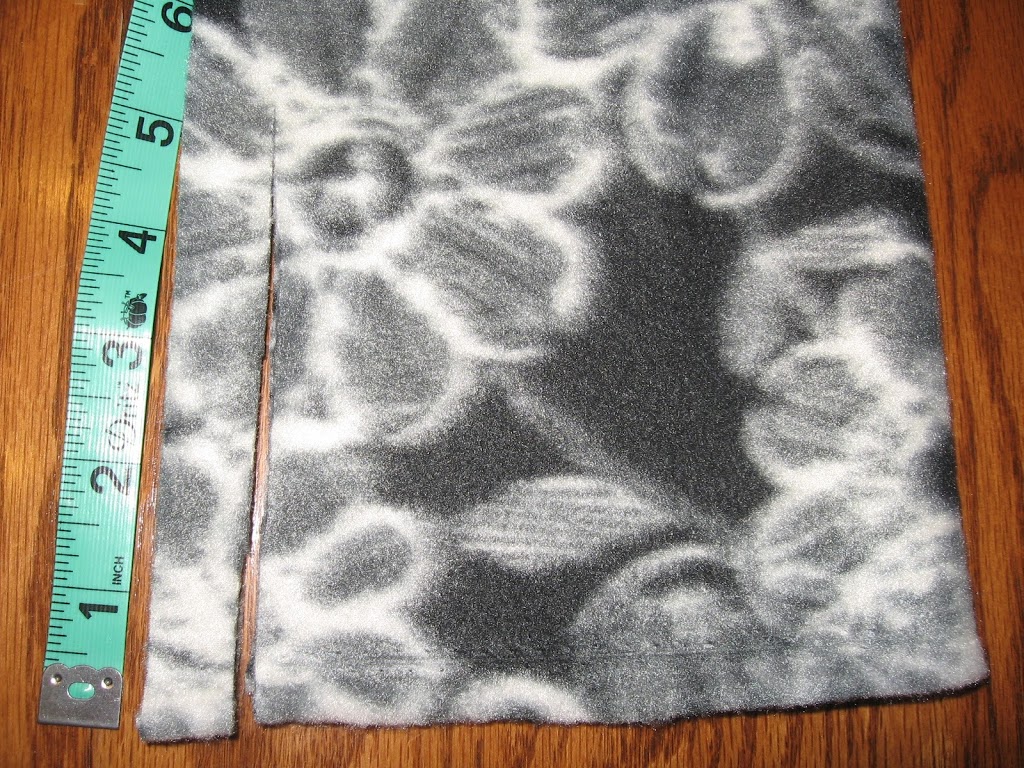
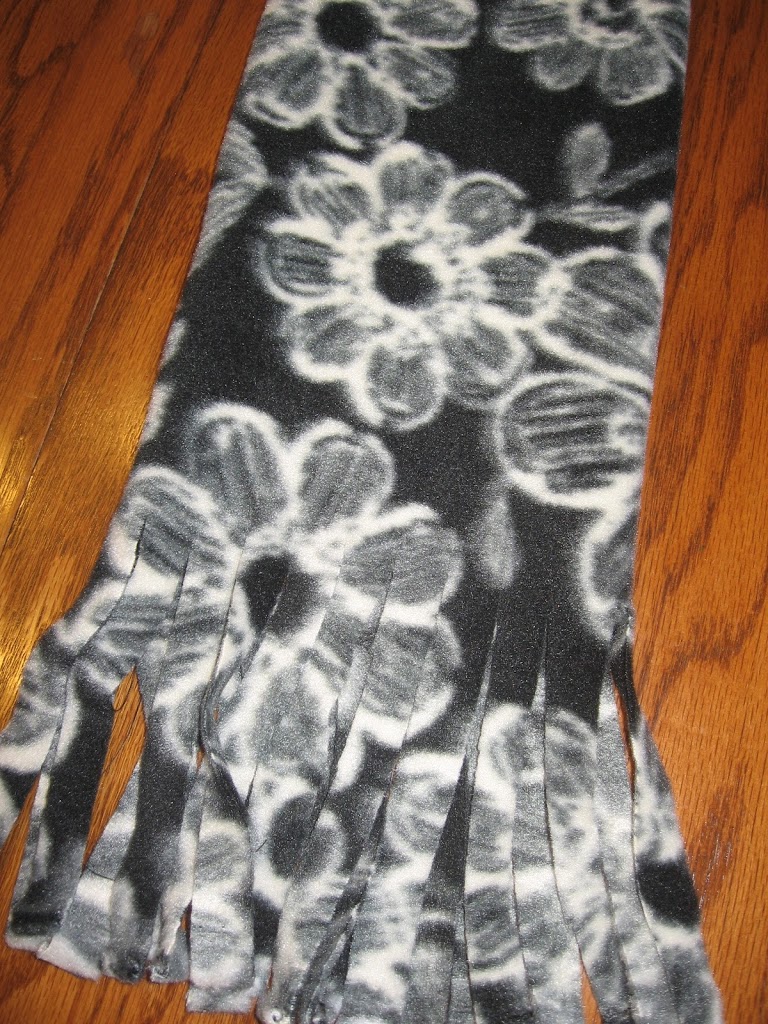
Now decide how long you want your fringe to be and cut strips on both ends. As you can see in the picture below, I cut my fringe at the five inch mark.
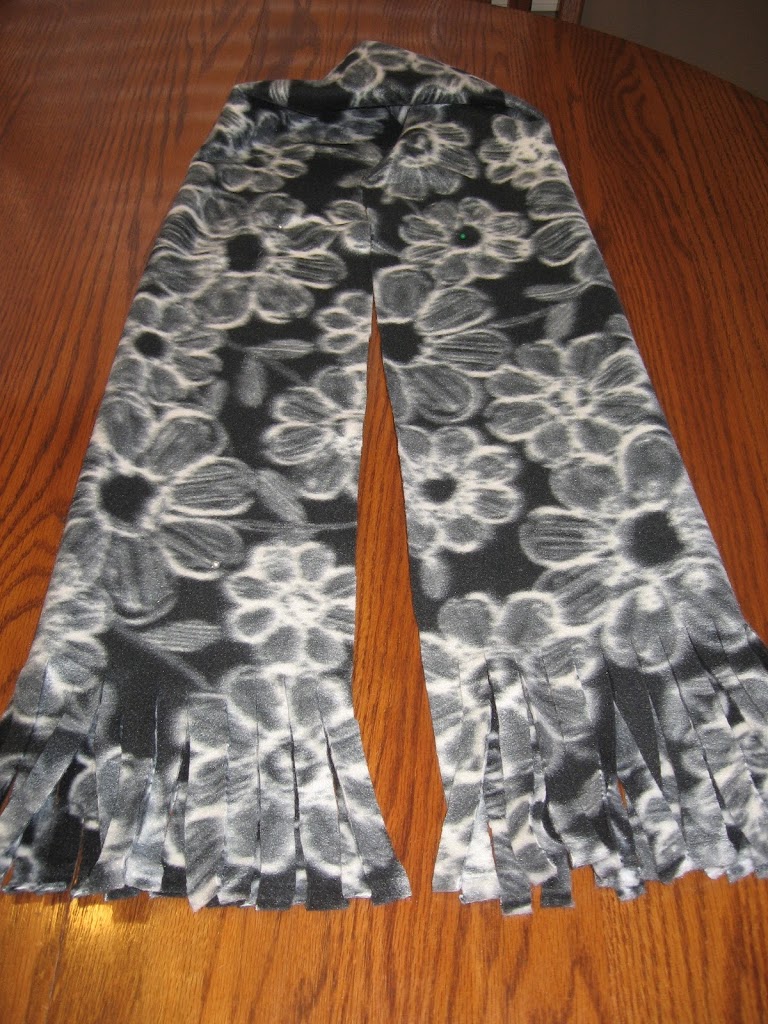
Your scarf should look like this.
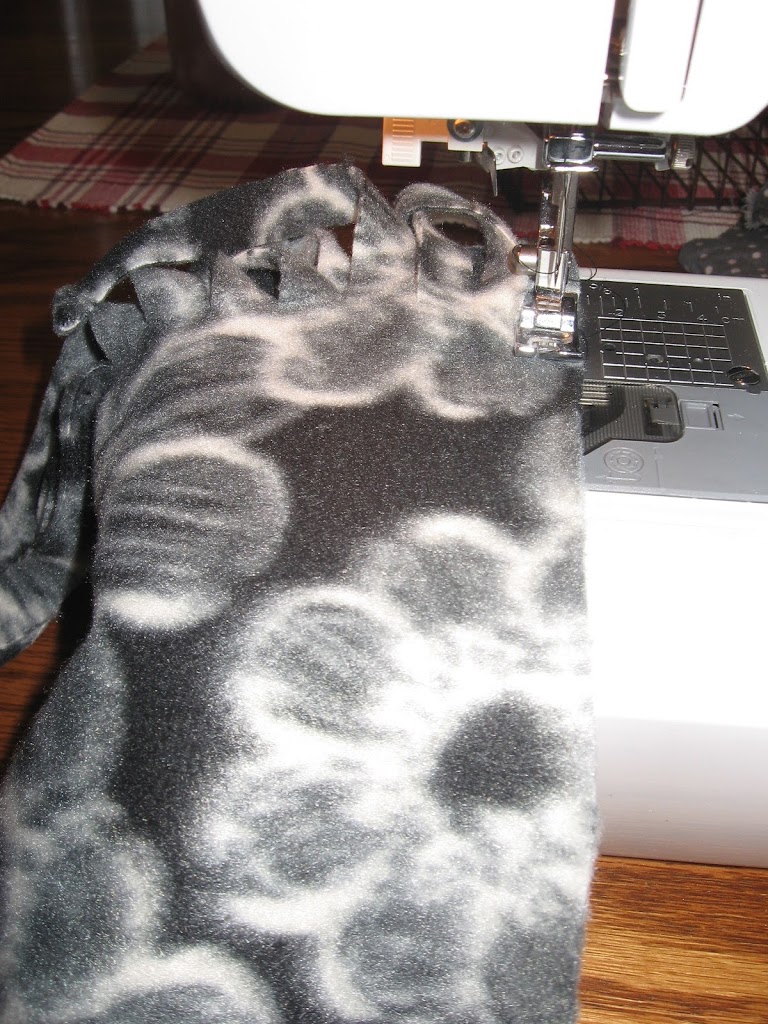
Now, starting just below the fringe sew down the open side of your scarf with a 1/4″ seam.
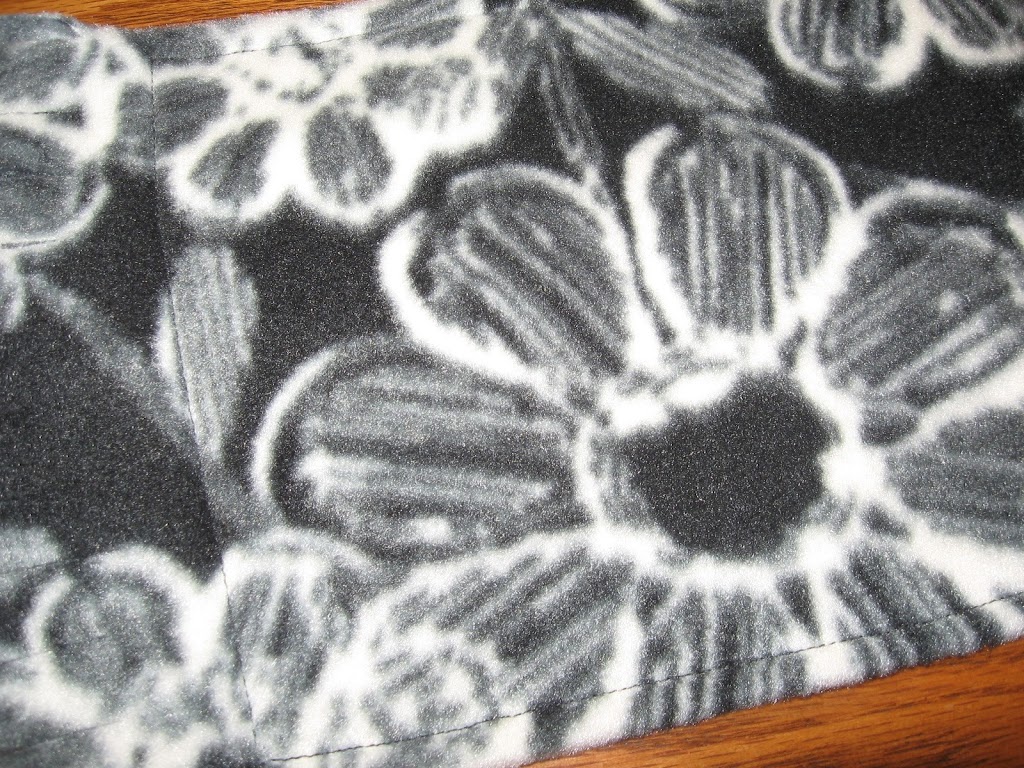
Next, turn your scarf right side out like this and try to smooth it out as best as you can. (Do not iron fleece as it could melt.)
Then top stitch along the edges of your scarf and just above the fringe. This keeps your scarf from rolling and makes a more finished looking piece.
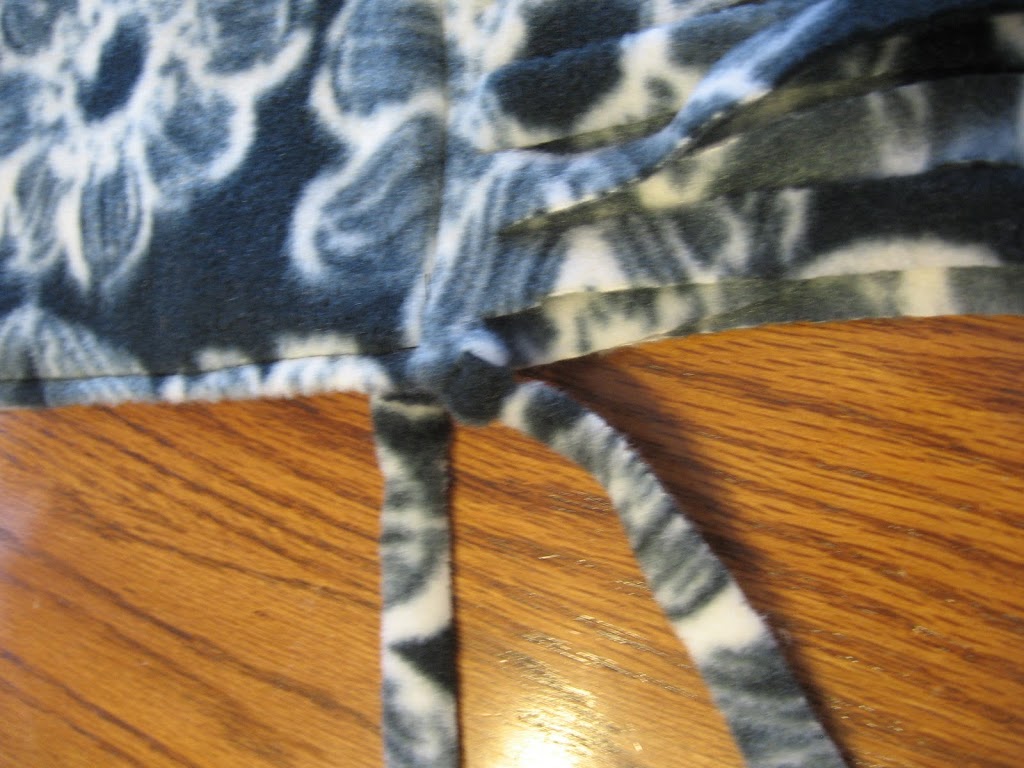
Lastly, take a top and bottom piece of fringe and tie a double knot. Do this until all fringe is knotted.
Thanks for the easy tutorial. My FL nephews are coming to visit and my SIL didn’t want to have to order scarves online, so I told her I would make them bc I have a ton of fleece. Yay!
Hi Missy: Thank you for your tutorial – I’m in the middle of making scarves. How wide are you cutting your fringe? Also, have you ever used minky fleece? It has exploded with lint, worried I maybe shouldn’t fringe the minky. Any advice from anyone that has tried minky with this scarf? Oh my! Leave it to me to make something so simple so complicated.
Thanks!
Instead of sewing could I use the Lite Steam to Seam 2 where you sew? I have a cricut which could cut my adhesive to 1/4″ ,etc. Or what do you recommend? I wish I could sew but i can do almost anything else. Thanks
Super super cute! Just wanted to stop by and let you know that I gave you the Stylish Blog Award! Come check it out!
http://gnarlynotes.blogspot.com/2011/02/me-stylish.html
-Dominique
Thanks for the easy tutorial. My FL nephews are coming to visit and my SIL didn’t want to have to order scarves online, so I told her I would make them bc I have a ton of fleece. Yay!
Enjoy!!
Hi Missy: Thank you for your tutorial – I’m in the middle of making scarves. How wide are you cutting your fringe? Also, have you ever used minky fleece? It has exploded with lint, worried I maybe shouldn’t fringe the minky. Any advice from anyone that has tried minky with this scarf? Oh my! Leave it to me to make something so simple so complicated.
Thanks!
I wouldn’t do the fringe with minky fabric as it will ravel and make a mess. Sorry!!
Never try to fringe Minky. Caused an asthma attack in my house as the particals are uncontrollable.
Hi Missy: Thank you for your tutorial – I’m in the middle of making scarves. How wide are you cutting your fringe?
I cut mine about 3/4 of an inch, but you can customize it to the size that you want.
I would like your info on egg shell dust and its uses
thank you.
There is a search bar on my site so that you can find what you need.
Instead of sewing could I use the Lite Steam to Seam 2 where you sew? I have a cricut which could cut my adhesive to 1/4″ ,etc. Or what do you recommend? I wish I could sew but i can do almost anything else. Thanks
I am not familiar with this product, so I can’t say for sure if it would work or not.