Taggie Blanket Tutorial

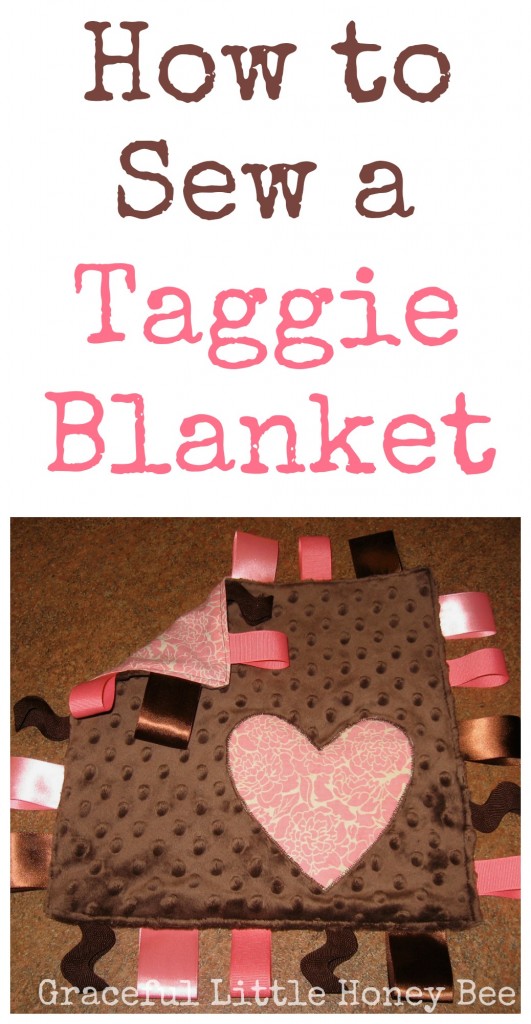
Check out this tutorial for how to make a soft minky Taggie Blanket for babies. These make great baby shower gifts.
How to Sew a Taggie Blanket
I never got around to making a taggie blanket for Walker, so I knew I wanted to for this baby. It was pretty easy with minimal sewing and I’m considering making these as my new go to baby gift. It’s much quicker than crocheting a blanket. (Update: After six years and two babies later, this taggie blanket is still going strong!)
Materials You Will Need:
2 -12.5″ X 12.5″ squares of contrasting fabric
Several types of matching ribbon of different sizes/textures
First, cut ribbon pieces to around 5″ each and pin folded in half to right side of one piece of fabric. You will match the edge of the ribbon to the edge of the fabric so the folded part of the ribbon is facing inwards.
Next, baste stitch 1/4″ over all of the ribbons and remove pins. If you are doing an applique you will need to complete that before the next step. You can refer to my applique tutorial for more information.
Next, pin pieces of fabric right sides together and sew 1/2″ all the way around edge leaving an opening to turn your material. (Not pictured)
Once project is turned right side out pin opening shut and stitch along the edge of project all the way around.
Now you have a beautiful handmade taggie blanket that will make a long lasting gift for your baby or for a loved one at a baby shower.




One Comment