Mini Cherry Cheesecakes
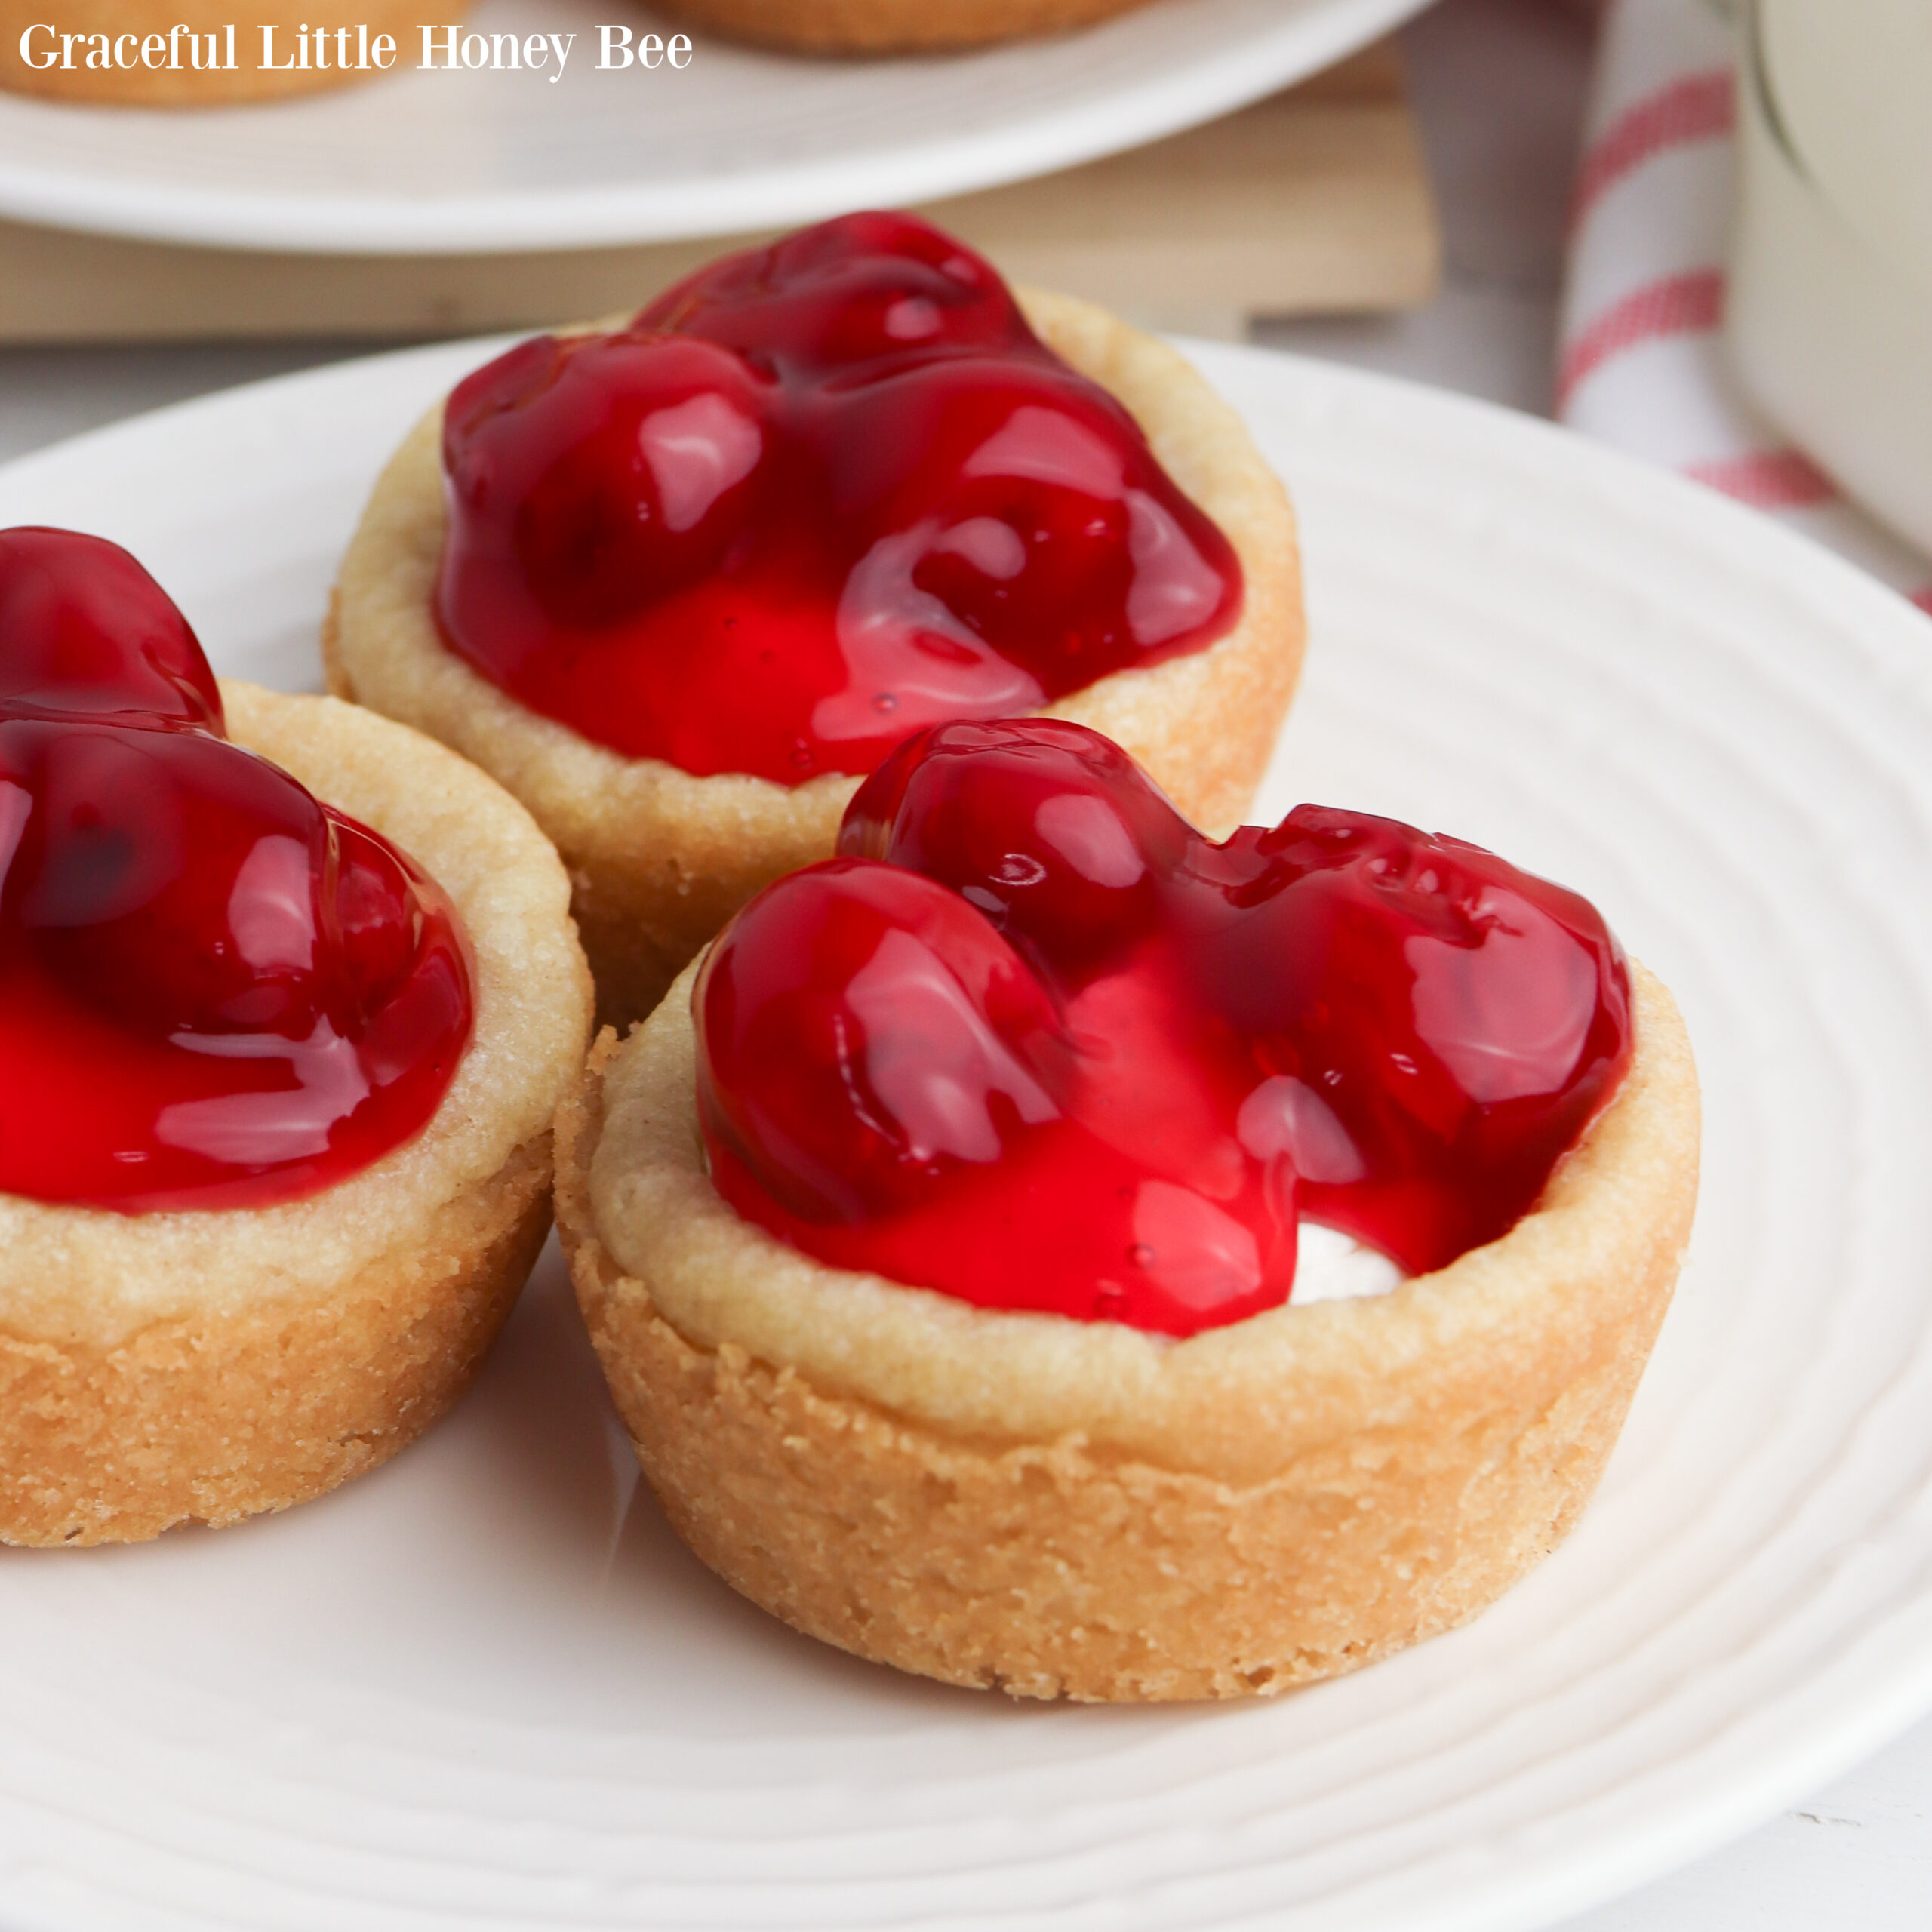
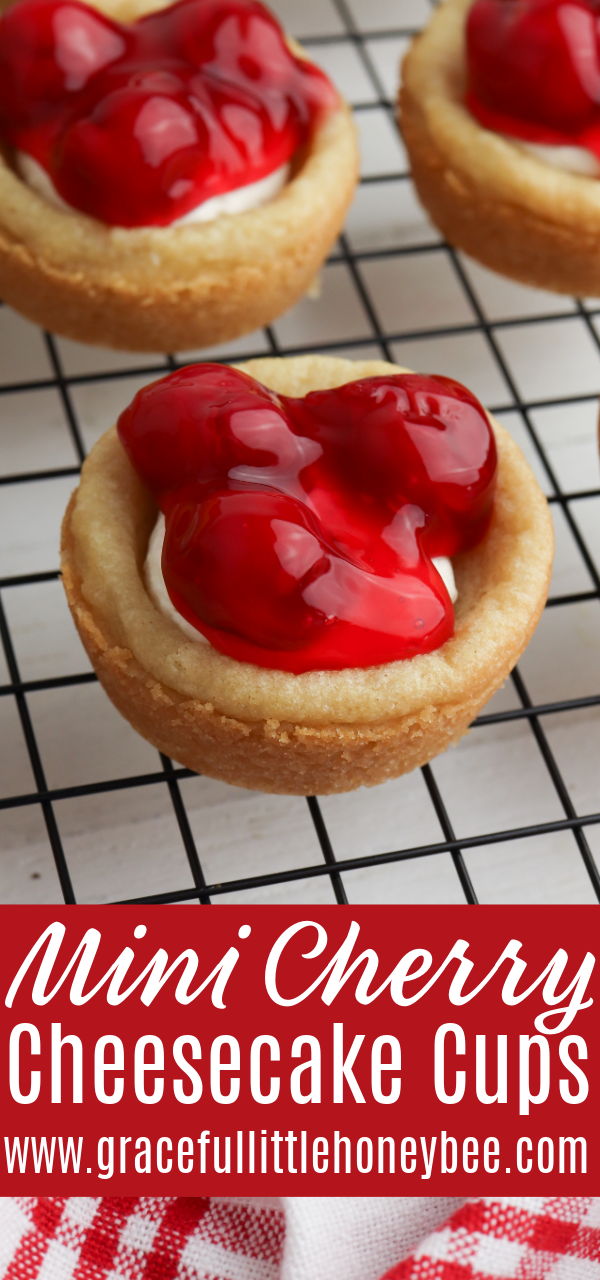
These Mini Cherry Cheesecakes are sure to leave an impression at any party with their sugar cookie crust, homemade cheesecake filling and cherry pie topping.
This post contains affiliate links. If you make a purchase through one of these links, we will make a small commission at no extra cost to you. See our Disclosure Policy for more information. Thank you for your support.
Mini Cherry Cheesecakes
If you’re like me, then you’ll eat just about anything with cherry pie filling on it. Cherry is one of my favorite flavors and this recipe for Mini Cherry Cheesecakes doesn’t disappoint.
Regular Cherry Cheesecake can be messy and hard to serve at events, which is why these bite-sized cups work amazingly well.
They have a sugar cookie crust, homemade cheesecake filling and are topped with canned pie filling, making them quick to put together and make ahead of time. I know you’ll love this recipe. Enjoy!
What’s in Mini Cherry Cheesecakes?
- sugar cookie dough
- cream cheese
- sour cream
- powdered sugar
- vanilla extract
- whipped topping
- cherry pie filling
How to Make Mini Cherry Cheesecake Cups:
Preheat the oven to 350 degrees and grease two muffin pans with nonstick cooking spray.
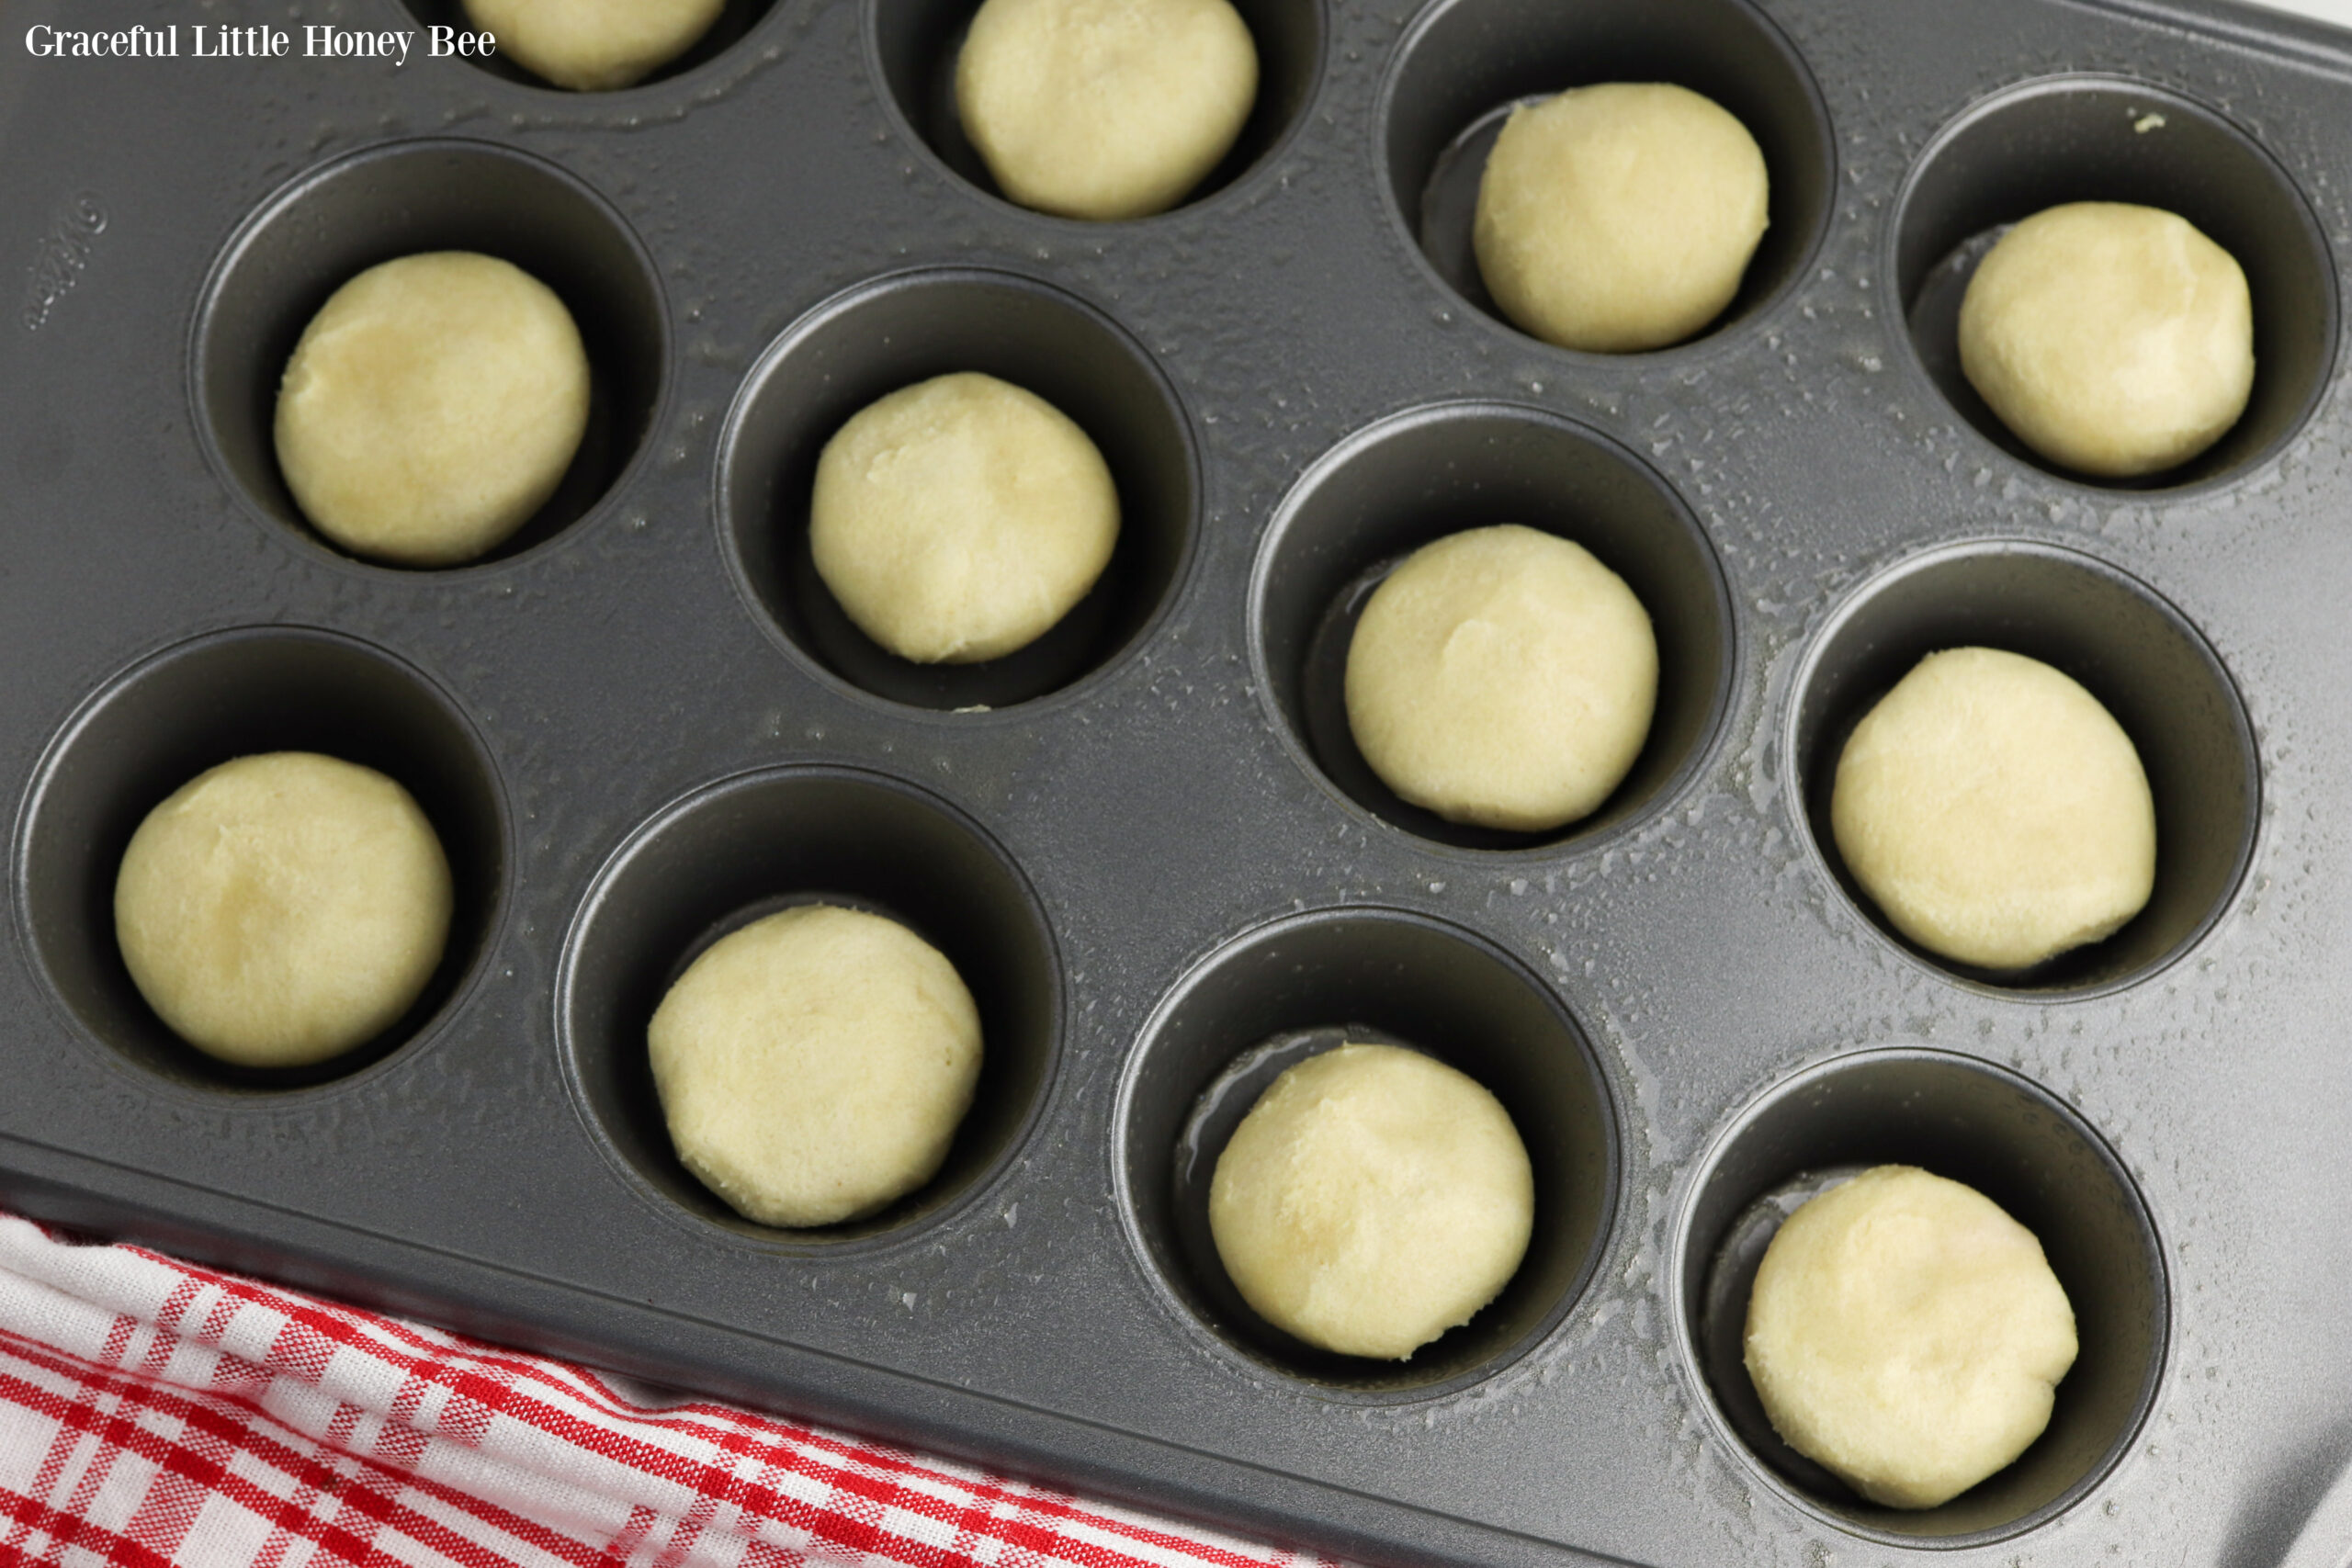
Open the sugar cookie dough package and squeeze two cookie dough pieces together to form one larger disk.
Place the disk in one cup of the muffin pan. Continue until all the cups are filled (you should have 24 in total).
Bake in the preheated oven for 12 to 15 minutes or until the edges of the cookie cups are just beginning to brown.
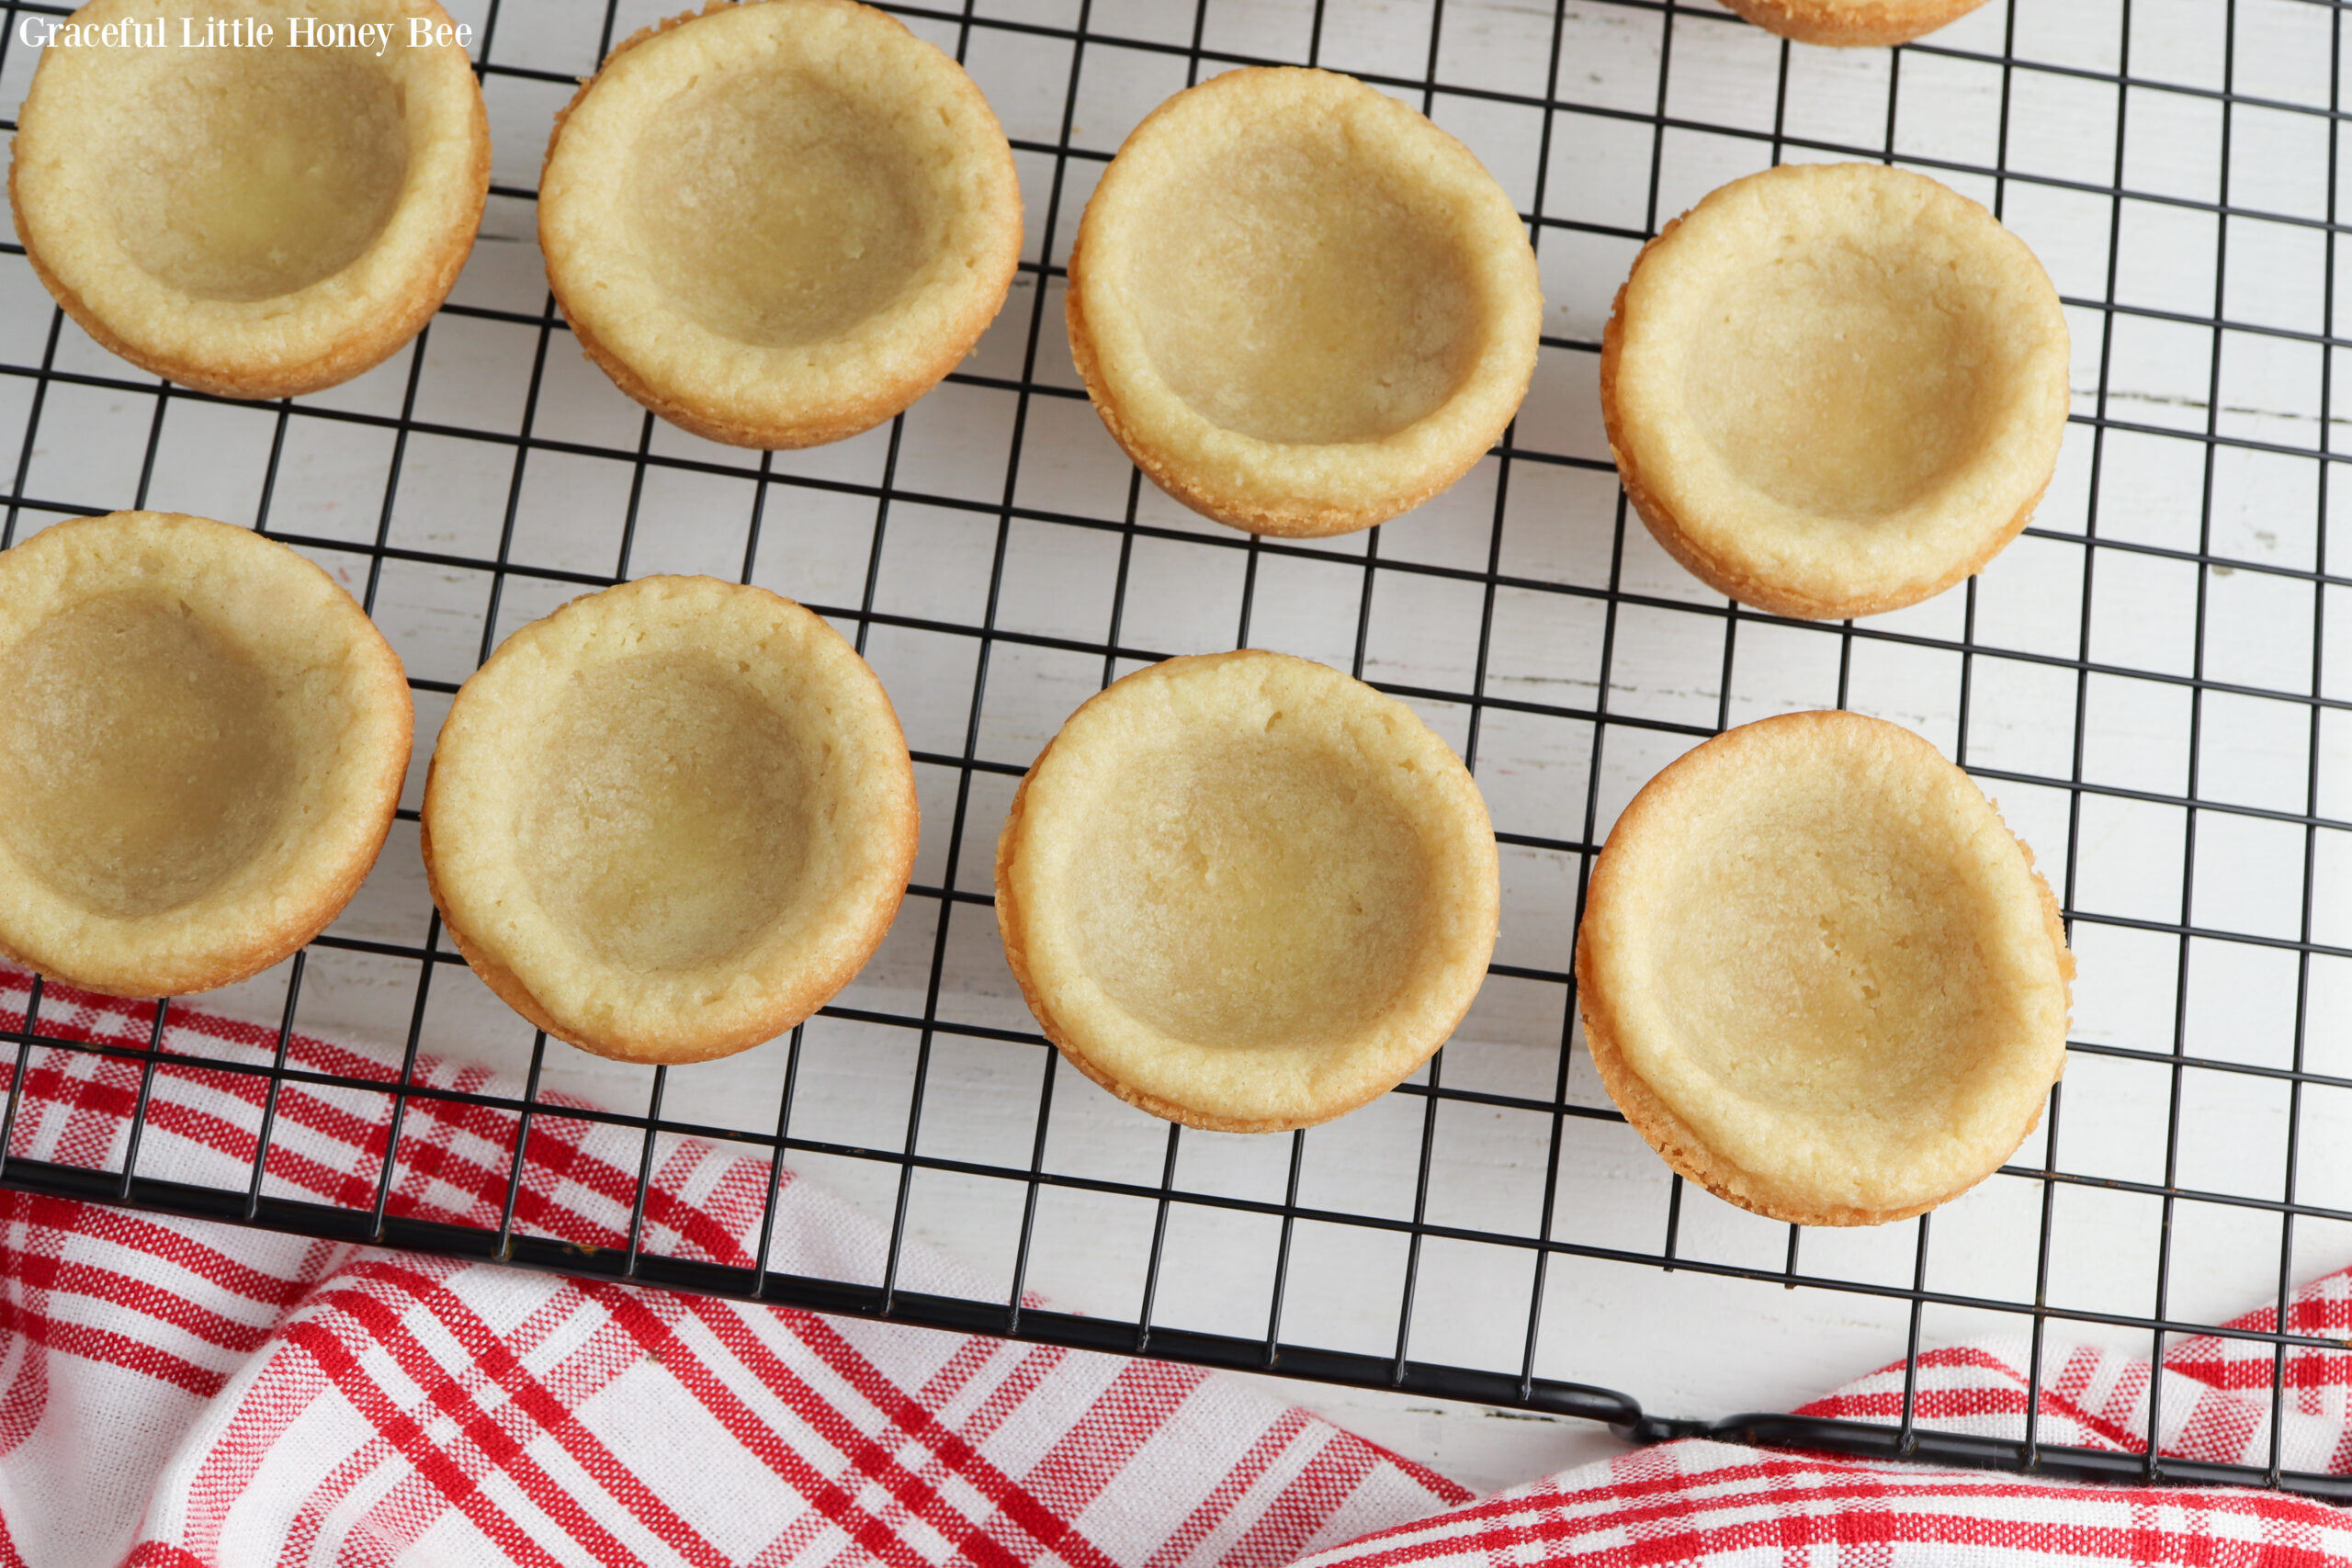
Allow the cookie cups to cool completely in the pan. After a few minutes of cooling, the cookies should deflate and form a cup shape. If they don’t, press the back of a tablespoon into each cookie to create a cup.
When the cookies are cool, transfer them to a wire cooling rack.
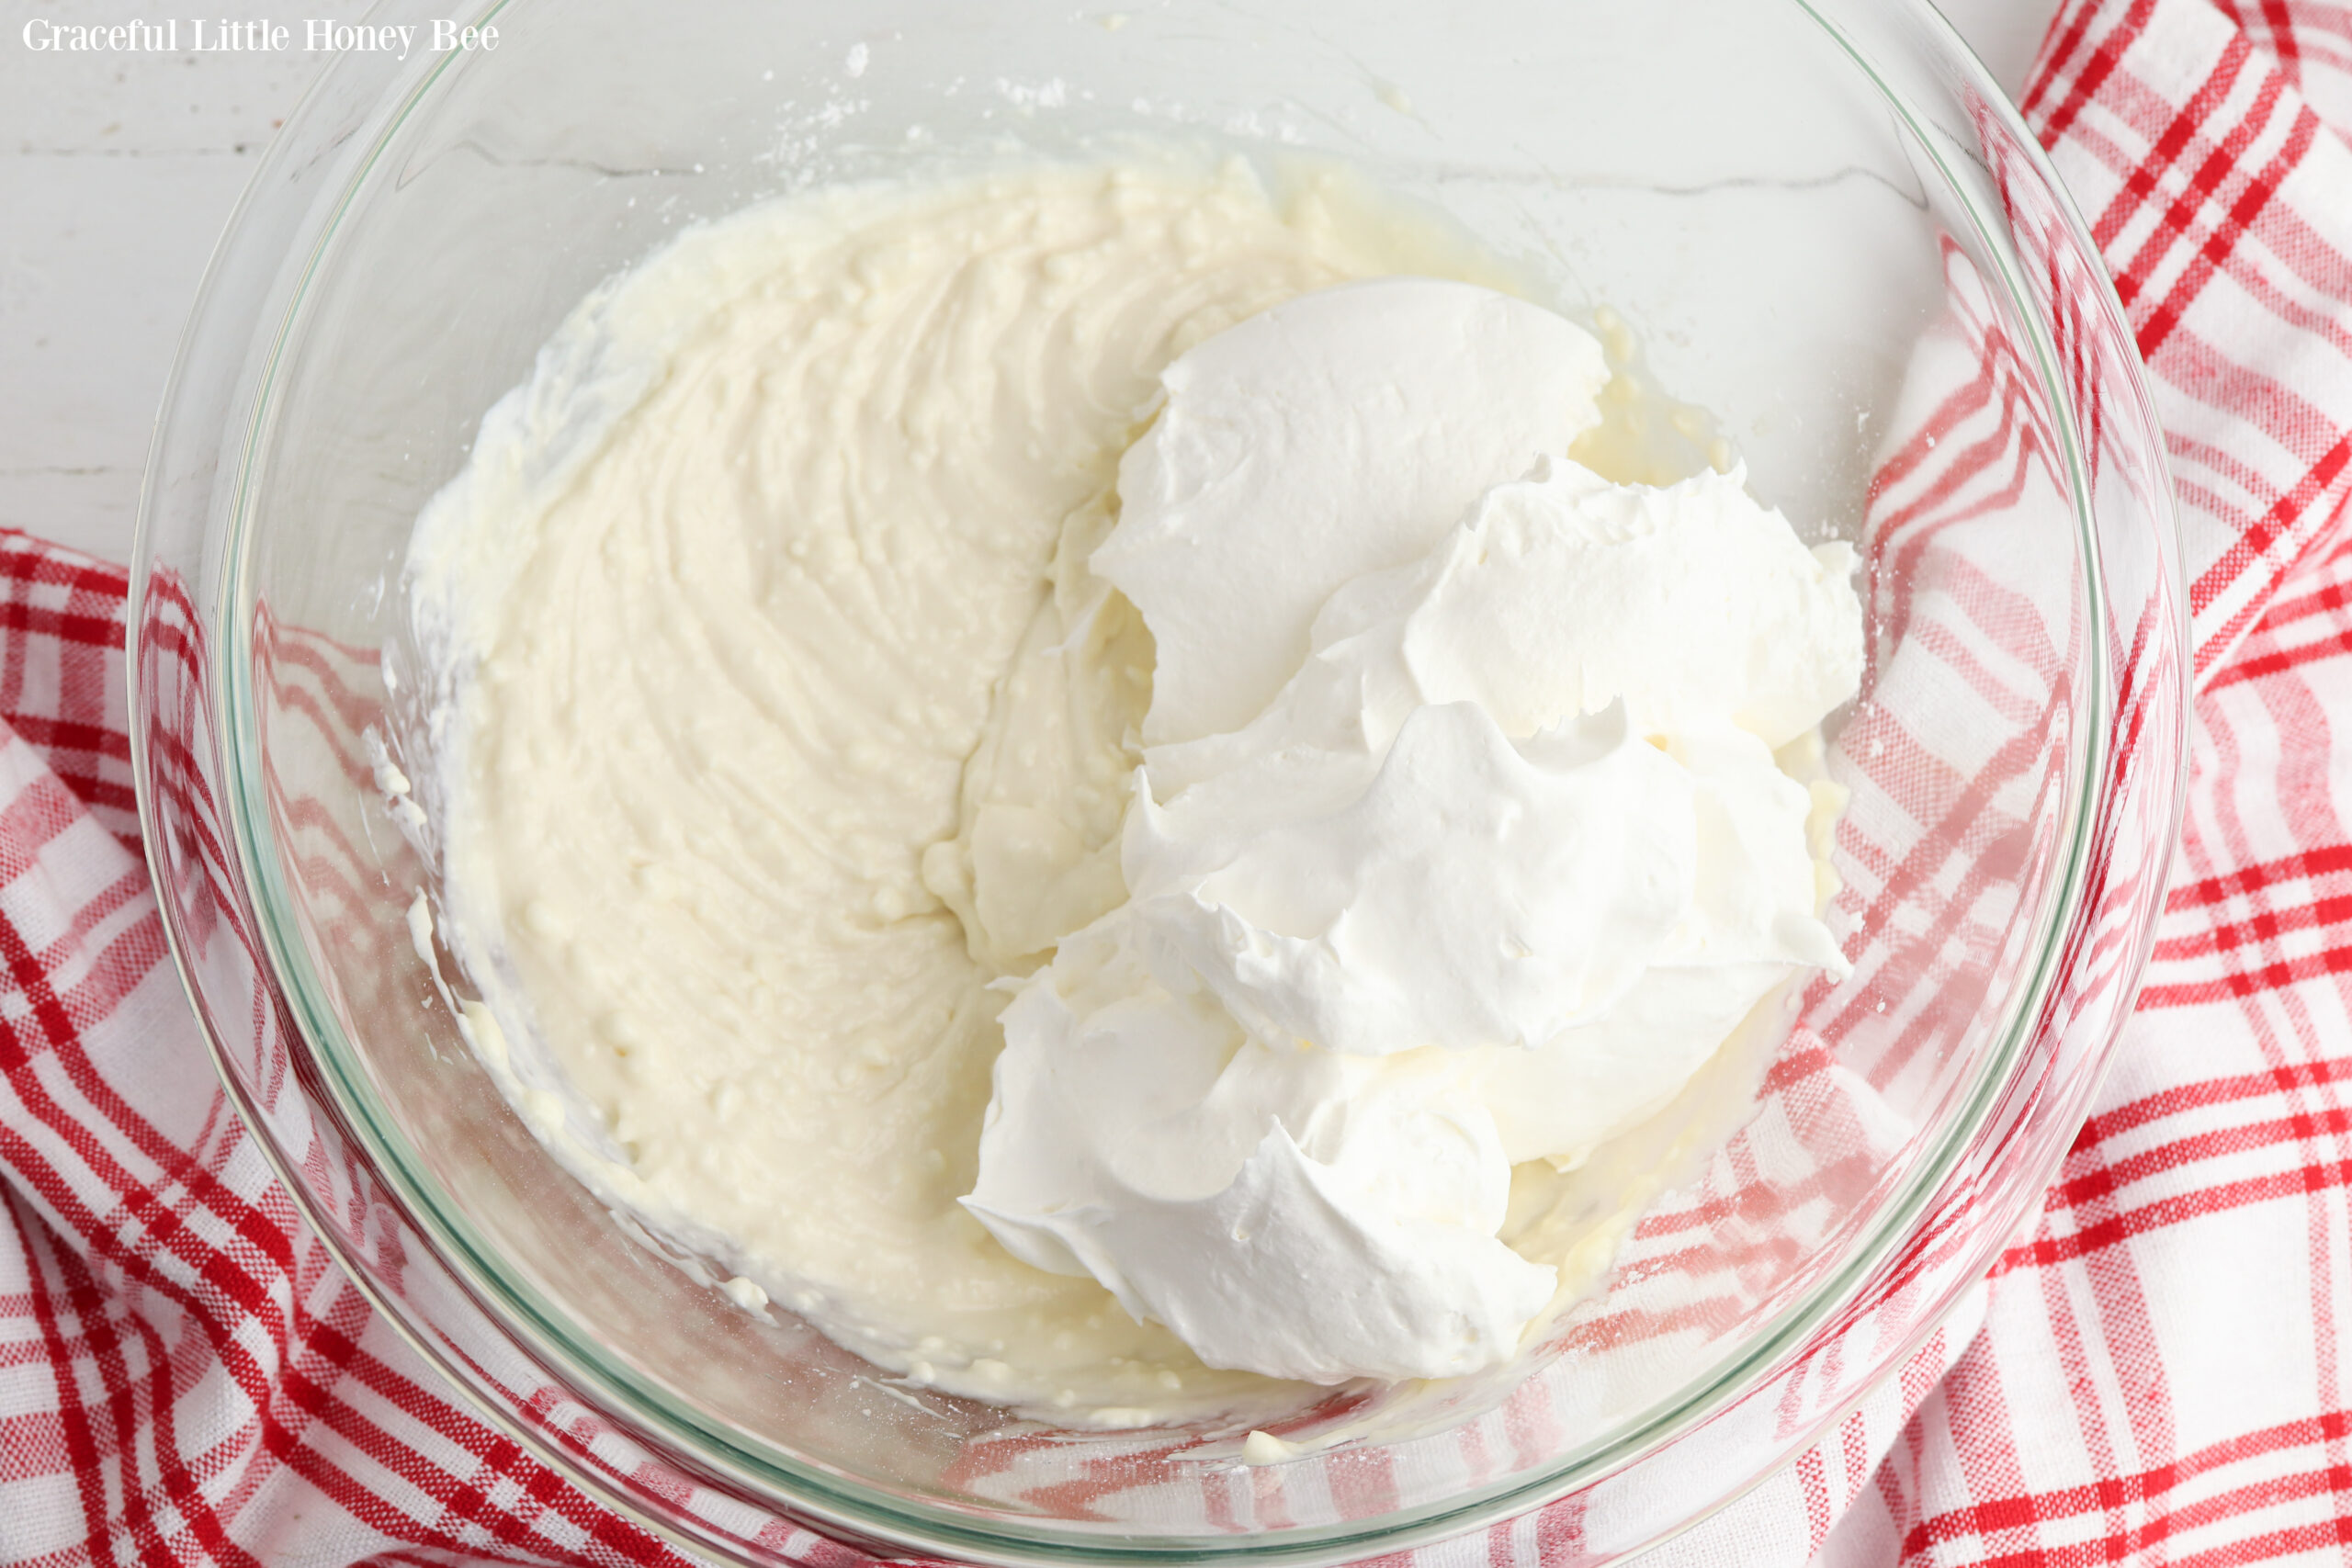
Prepare the cheesecake filling by beating tougher the cream cheese, sour cream, powdered sugar, and vanilla until smooth.
Fold in the frozen whipped topping until mixed completely.
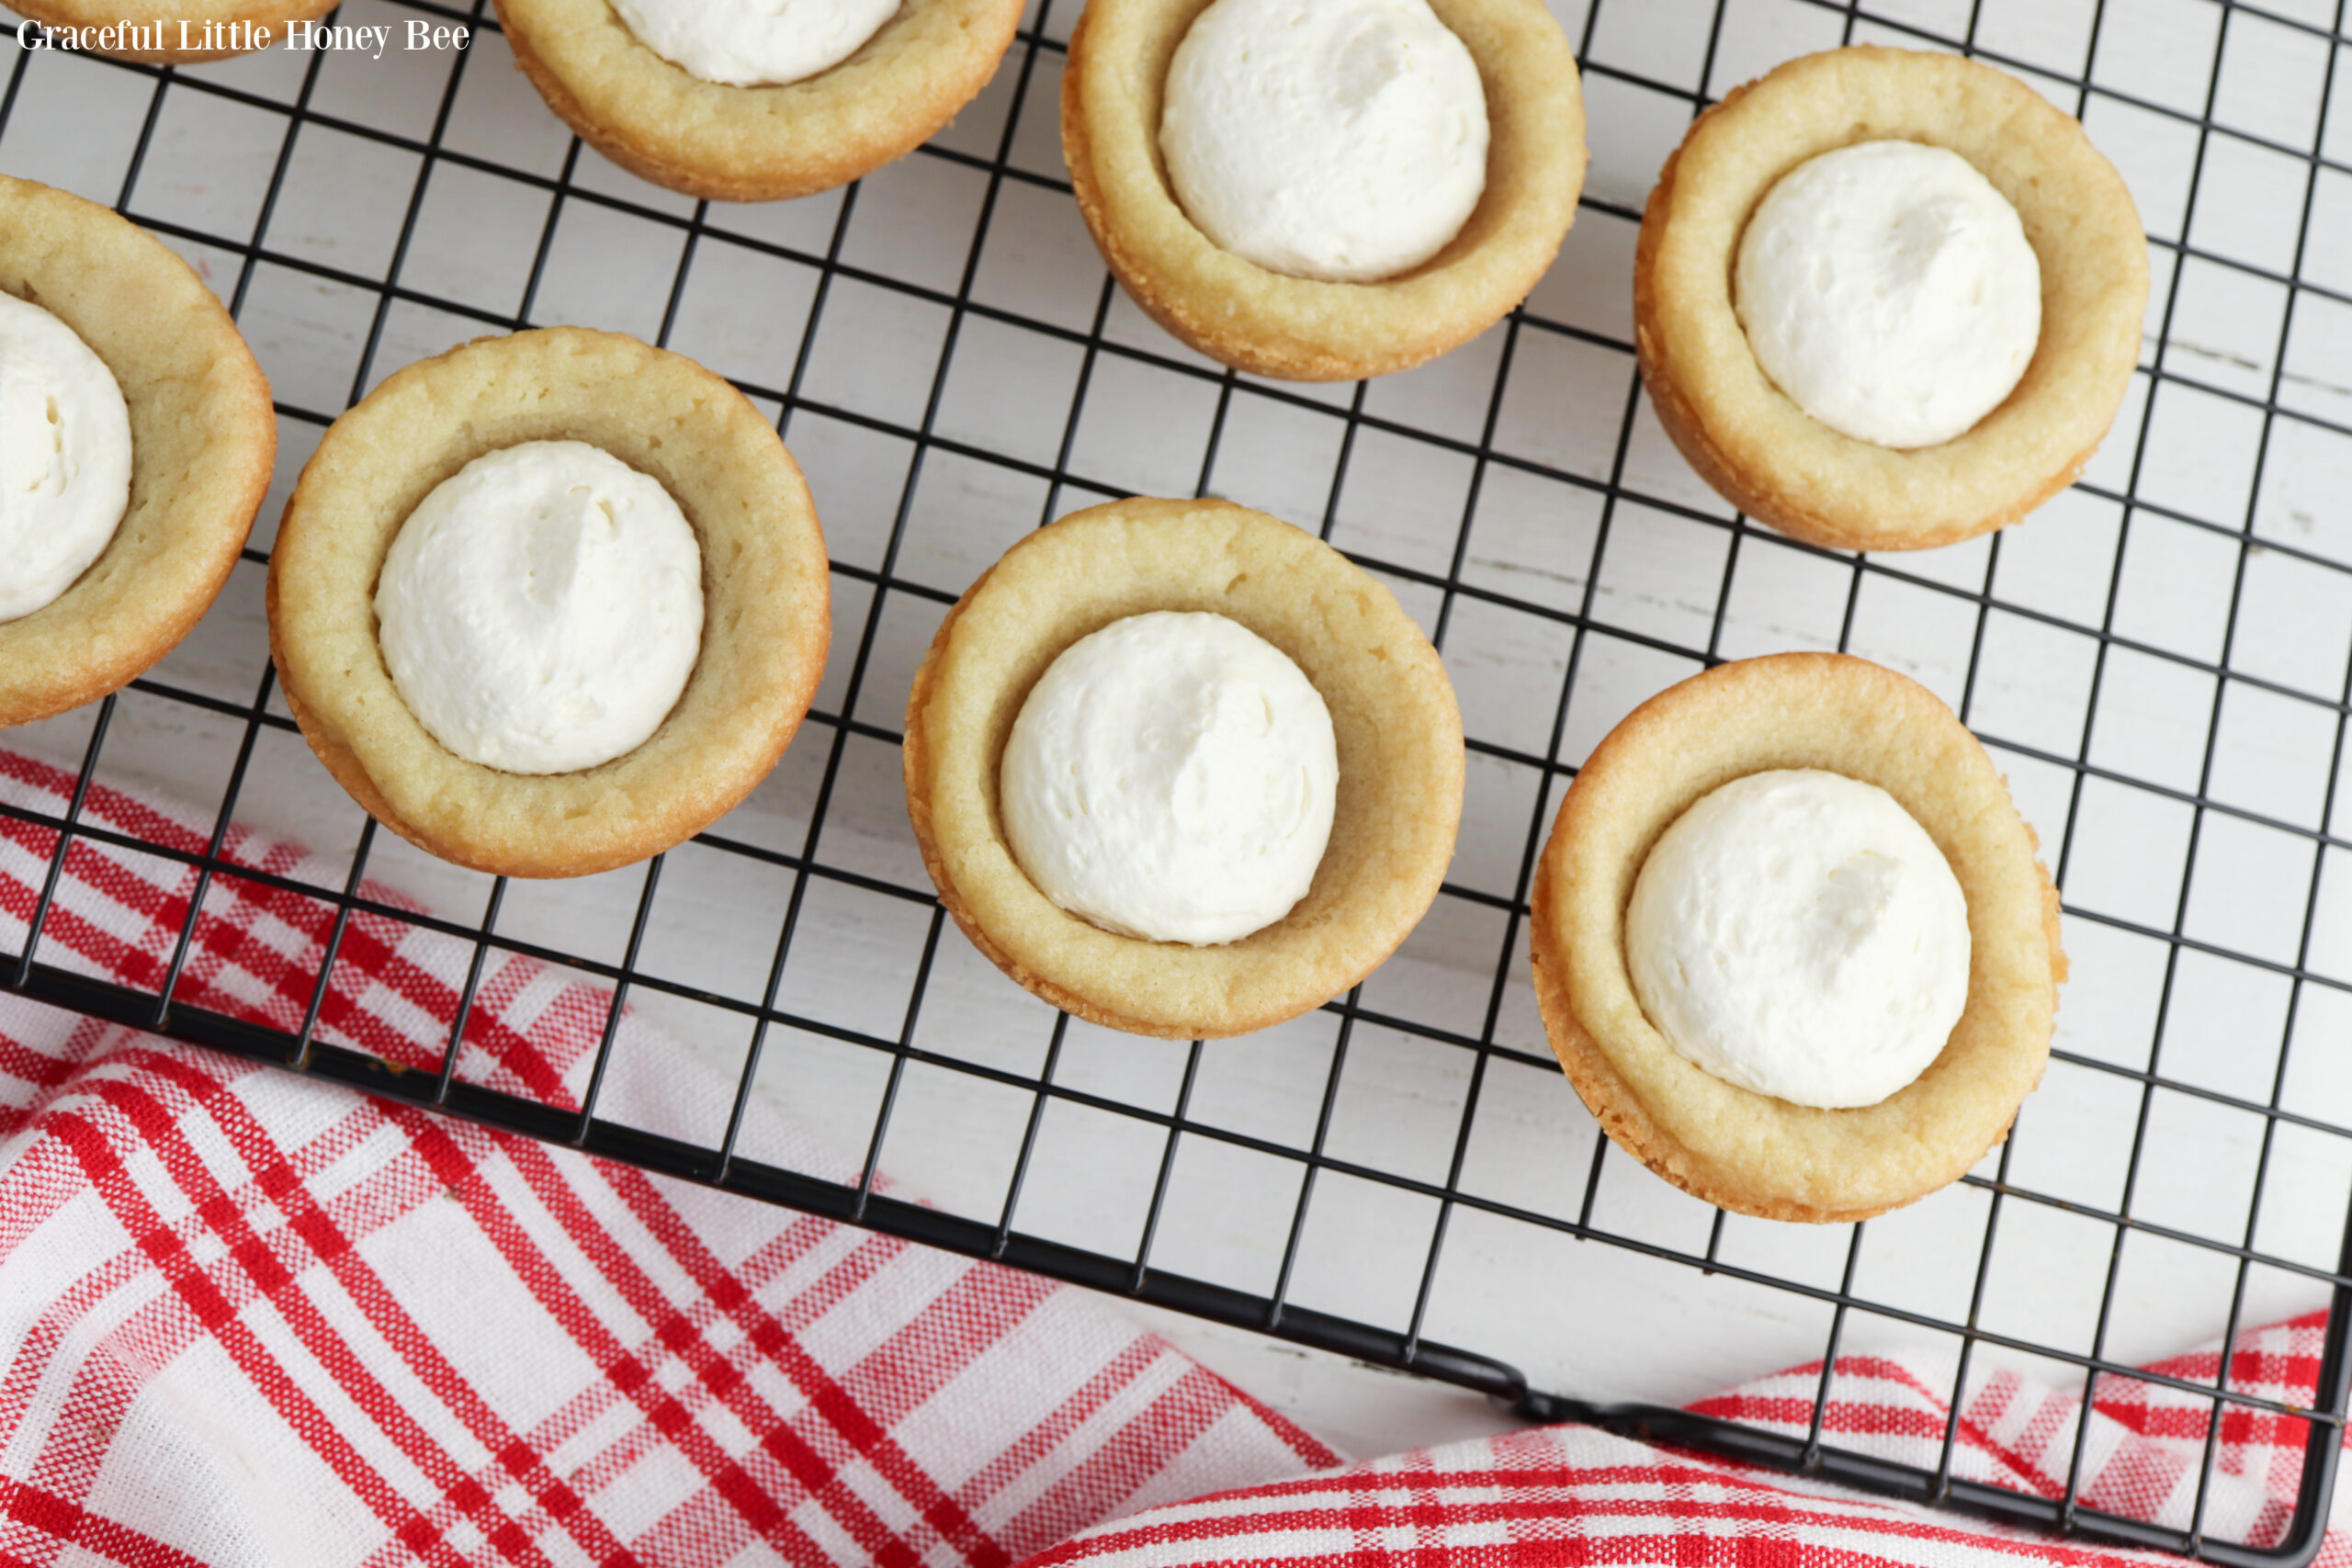
Transfer the cheesecake mixture to a large piping bag and pipe it into each cookie cup OR gently spoon the mixture into each cup.
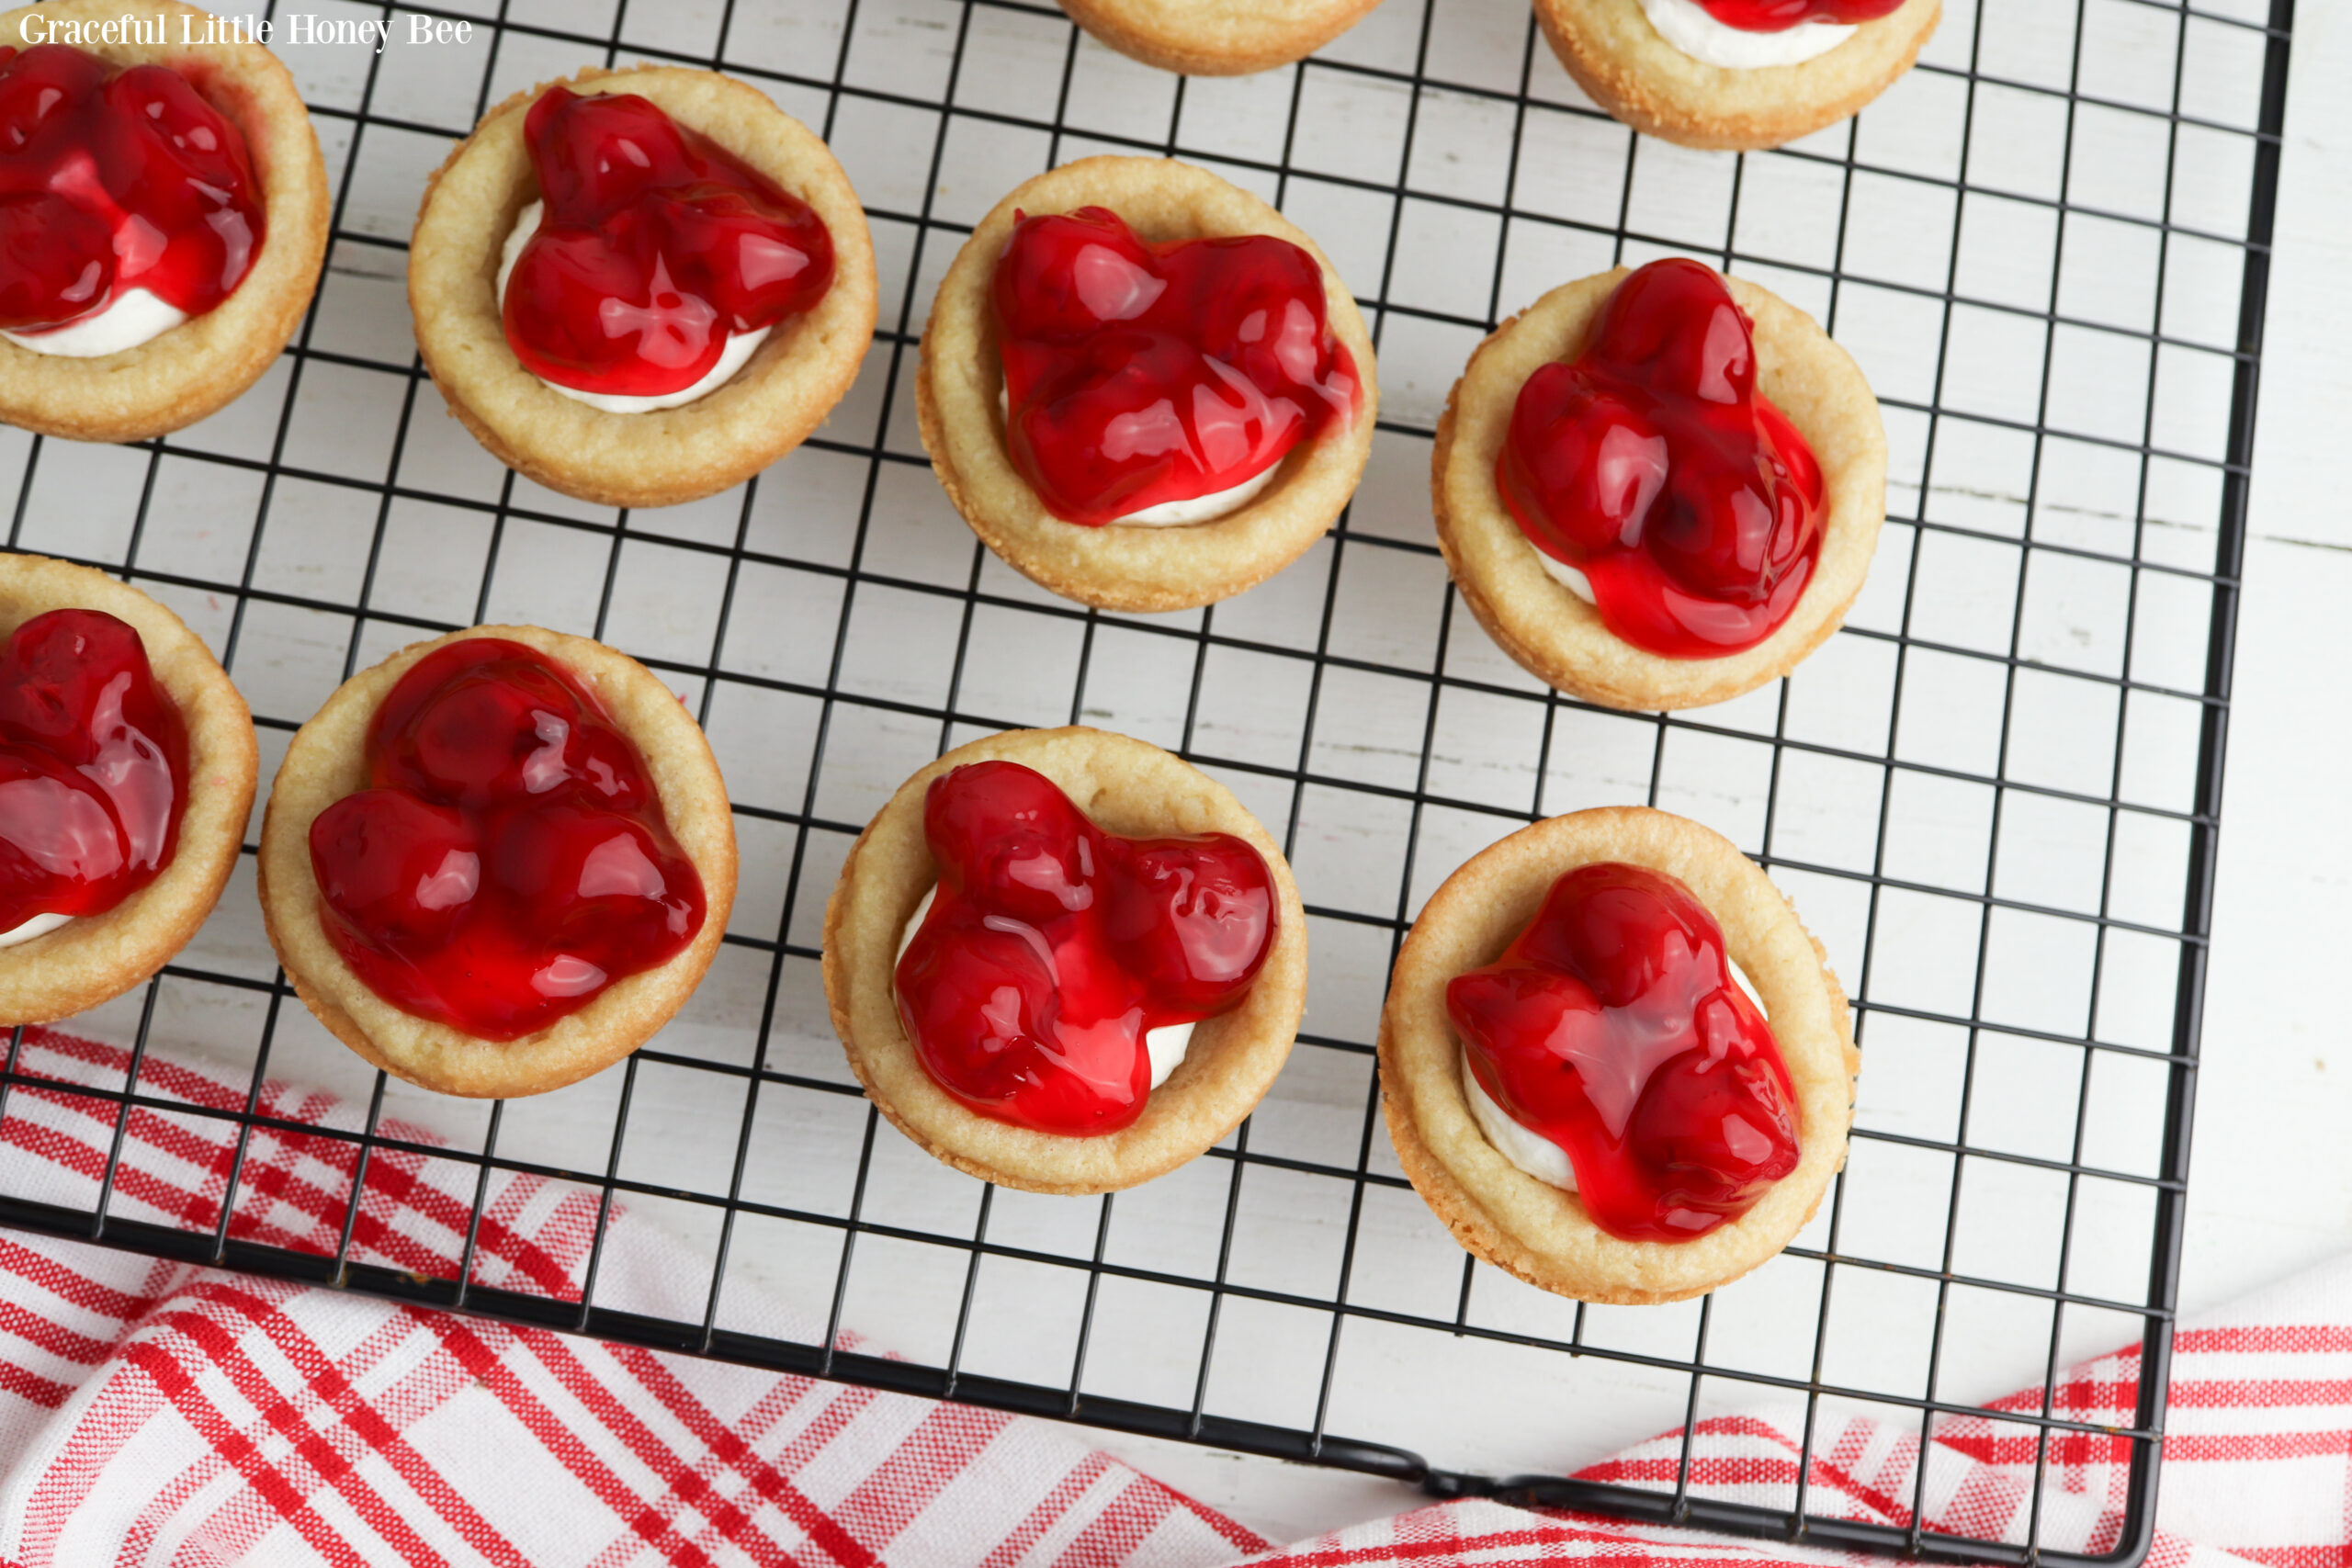
Store the cookie cups in the refrigerator for at least an hour to set, then top with cherry pie filling before serving.
Want more summertime desserts? Here are a few of our favorites:
- Cherry Limeade Bundt Cake
- S’mores Pudding Parfaits
- Red, White and Blue Dump Cake
- Cherry Cheesecake Bars
Follow Graceful Little Honey Bee on:
Pinterest | Facebook | Instagram | YouTube
Mini Cherry Cheesecake Cups
Equipment
Ingredients
- 2 - 24- count packages already shaped sugar cookie dough
- 6 ounces cream cheese softened
- ¼ cup sour cream
- 2/3 cup powdered sugar
- ½ teaspoon vanilla extract
- 4 ounces frozen whipped topping thawed
- 1 can cherry pie filling
Instructions
- Preheat the oven to 350 degrees and grease two muffin pans with nonstick cooking spray.
- Open the sugar cookie dough package and squeeze two cookie dough pieces together to form one larger disk.
- Place the disk in one cup of the muffin pan. Continue until all the cups are filled (you should have 24 in total).
- Bake in the preheated oven for 12 to 15 minutes or until the edges of the cookie cups are just beginning to brown.
- Allow the cookie cups to cool completely in the pan. After a few minutes of cooling, the cookies should deflate and form a cup shape. If they don’t, press the back of a tablespoon into each cookie to create a cup.
- When the cookies are cool, transfer them to a wire cooling rack.
- Prepare the cheesecake filling by beating tougher the cream cheese, sour cream, powdered sugar, and vanilla until smooth.
- Fold in the frozen whipped topping until mixed completely.
- Transfer the cheesecake mixture to a large piping bag and pipe it into each cookie cup OR gently spoon the mixture into each cup.
- Store the cookie cups in the refrigerator for at least an hour to set, then top with cherry pie filling before serving.
Nutrition





One Comment