Skip to content
Recipes
Expand
Appetizers & Sides
Homemade Breads
Breakfasts
Main Dishes
Slow Cooker
Instant Pot
Freezer Cooking
Desserts
Snacks
DIY Mixes
Preserving Food
Cooking Tips & Tricks
Meal Plans
Living
Expand
Frugal Living
Expand
Old-Fashioned Tips
In the Kitchen
In the Home
Simple Living
Expand
Gardening
Preserving Food
Natural Remedies & Recipes
chickens
About
Expand
Contact
Newsletter
Store
Facebook
Instagram
Pinterest
YouTube
Search
Toggle Menu
Search
Crafts
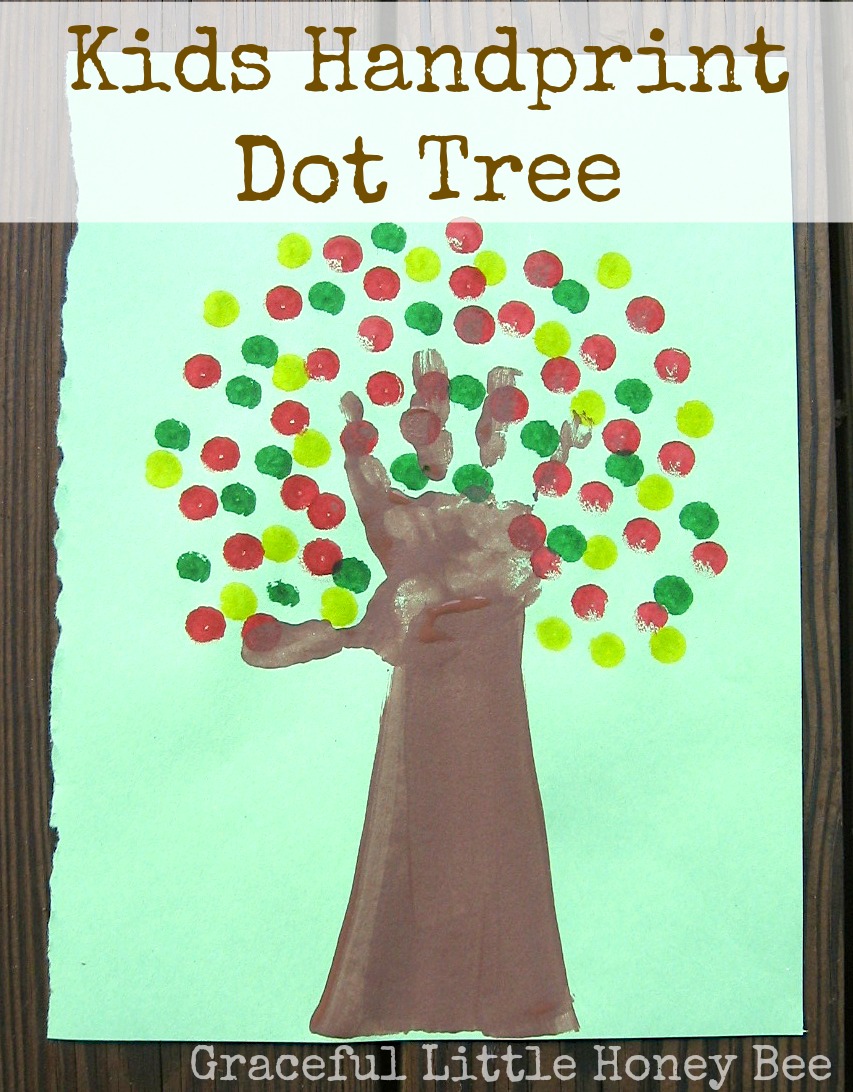
Kids Handprint Tree
Recipes
Toggle child menu
Expand
Appetizers & Sides
Homemade Breads
Breakfasts
Main Dishes
Slow Cooker
Instant Pot
Freezer Cooking
Desserts
Snacks
DIY Mixes
Preserving Food
Cooking Tips & Tricks
Meal Plans
Living
Toggle child menu
Expand
Frugal Living
Toggle child menu
Expand
Old-Fashioned Tips
In the Kitchen
In the Home
Simple Living
Toggle child menu
Expand
Gardening
Preserving Food
Natural Remedies & Recipes
chickens
About
Toggle child menu
Expand
Contact
Newsletter
Store
Toggle Menu Close
Search for:
Search