1-Yard Maternity Apron Tutorial
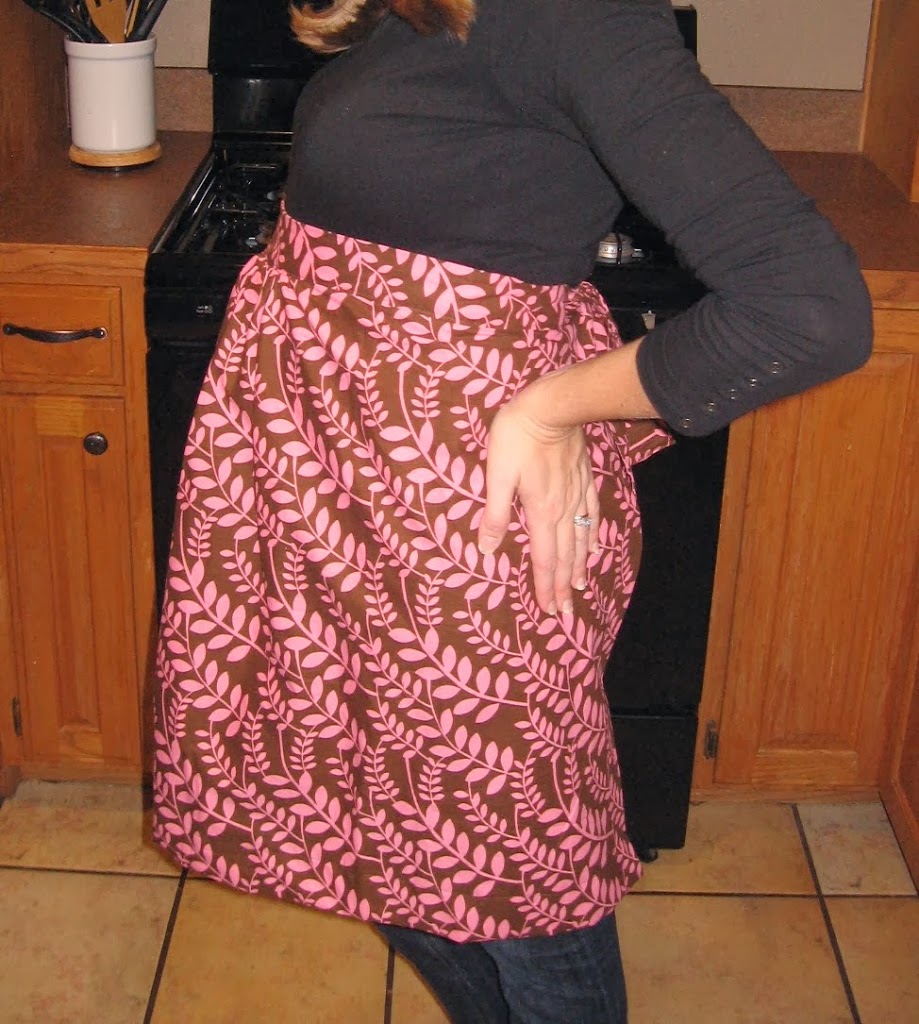

I love how this maternity apron turned out so much that I thought I’d share a tutorial with y’all! It’s basically just a half apron with gathers along the belly. Anyway I’m going to do my best at explaining how I made it. 🙂 Obviously my belly’s not very big yet, but this apron gives me plenty of room to grow!

Here is the layout and measurements that I used. You can always alter the waistband and length for a more custom fit if you need too.
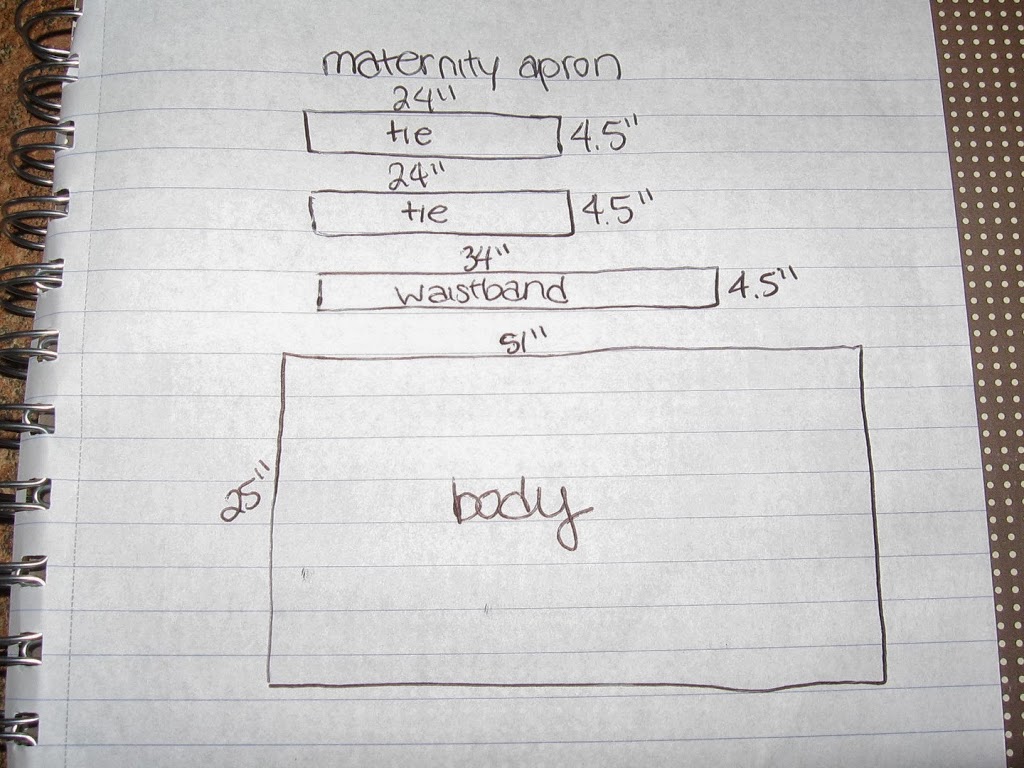
1. Measure and cut out the pattern pieces shown above.
You should have four pieces total.
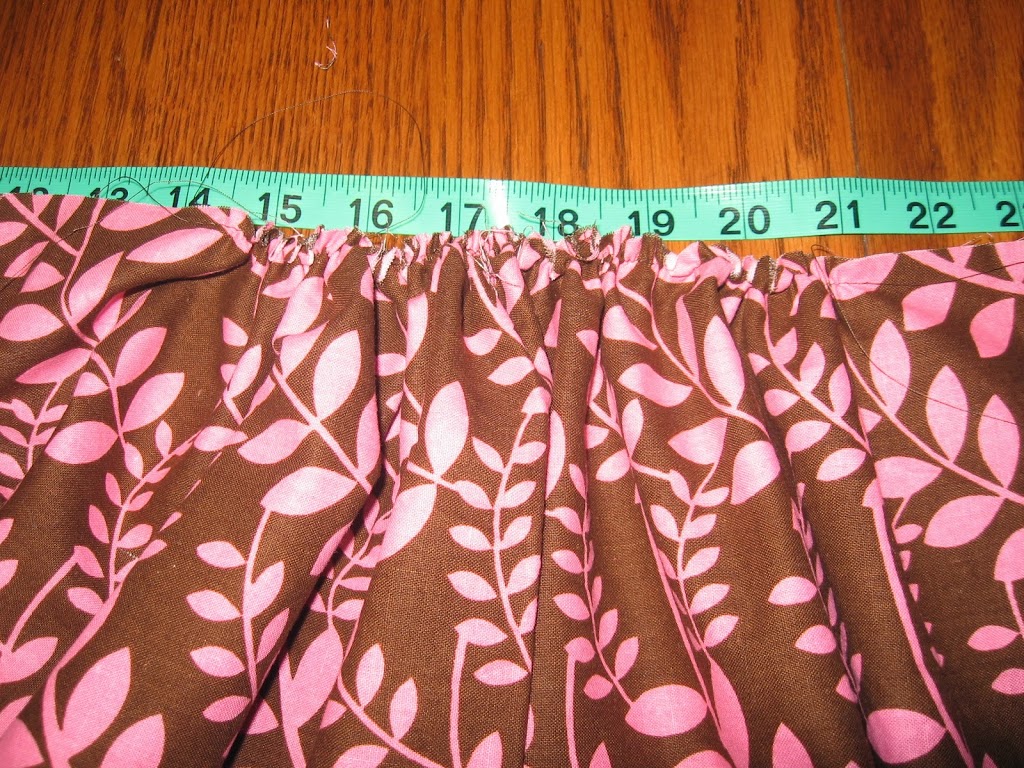
2. On the top long side of the body piece, find the middle and measure out twelve inches on each side and mark with a pin. You are basically finding the middle 24″ where the gathers will be.
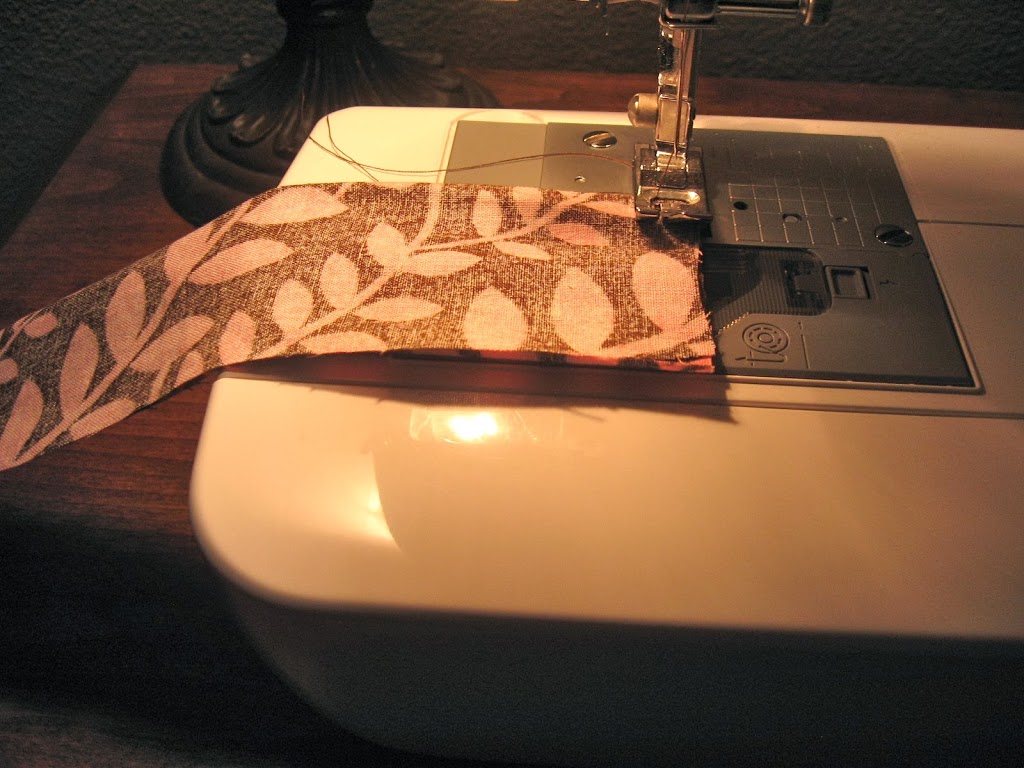
3. Baste (this is basically a long loose stitch) between the pins.
4. Pull your thread from the basting stitch to gather until the body length matches the waistband length.
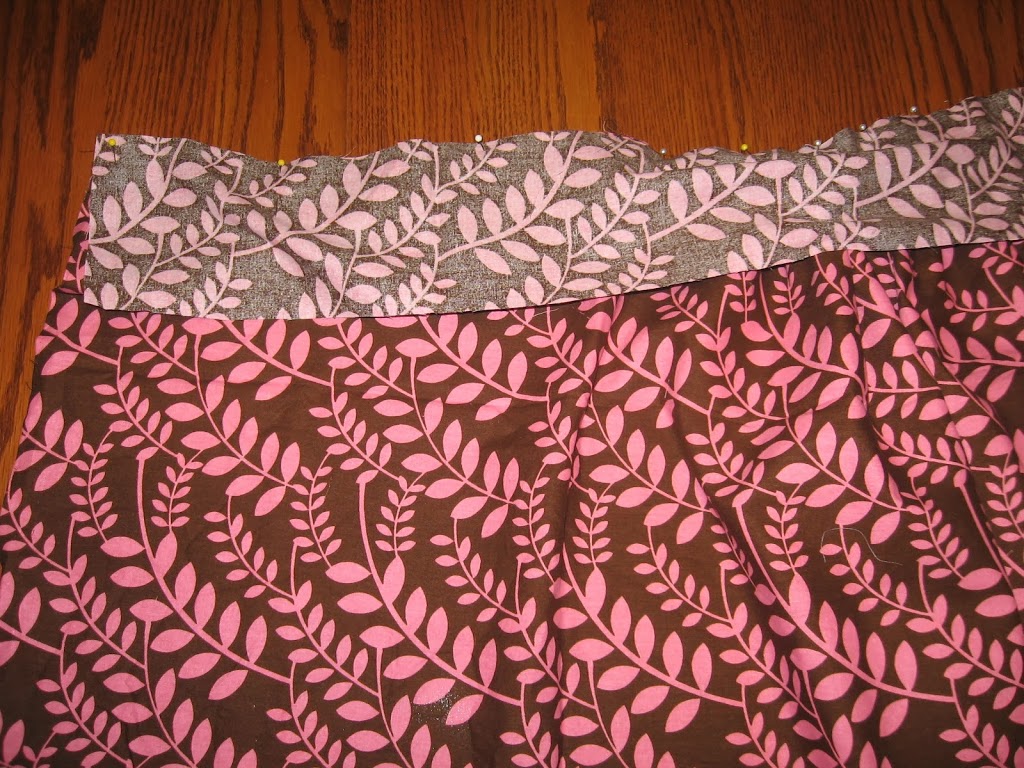
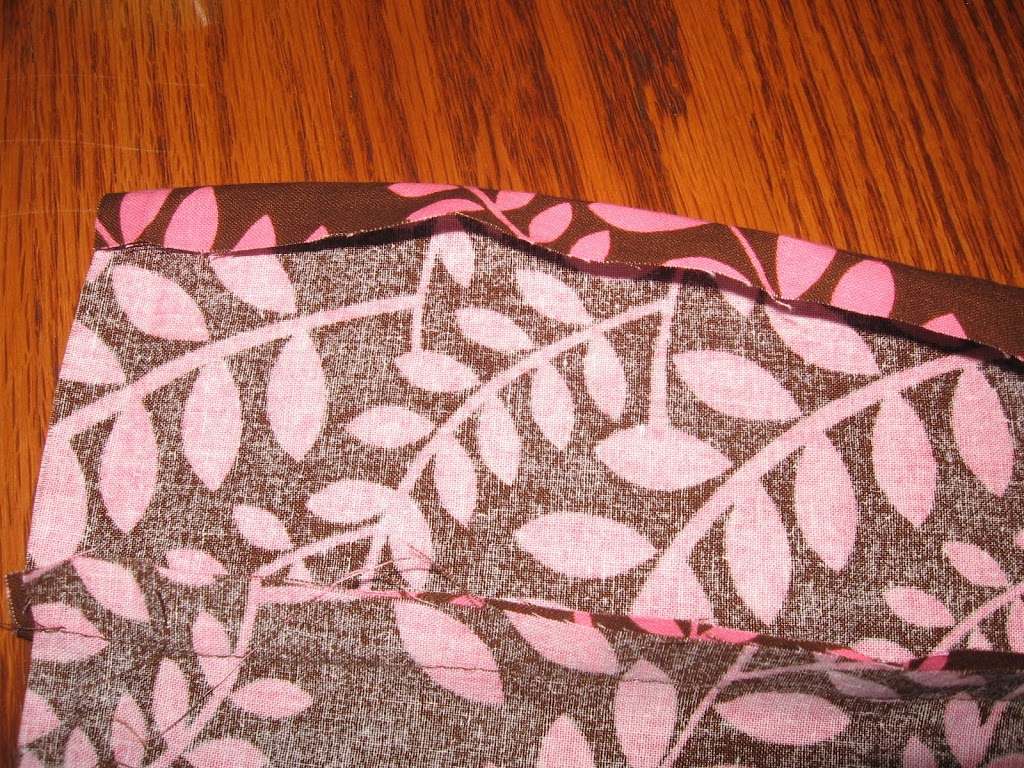
5. Put the waistband on top of the body top edge right sides together and pin the top edges together making sure your gathers are even and your waistband and body piece are the same length.
6. Stitch where you pinned 1/2 inch from edge.
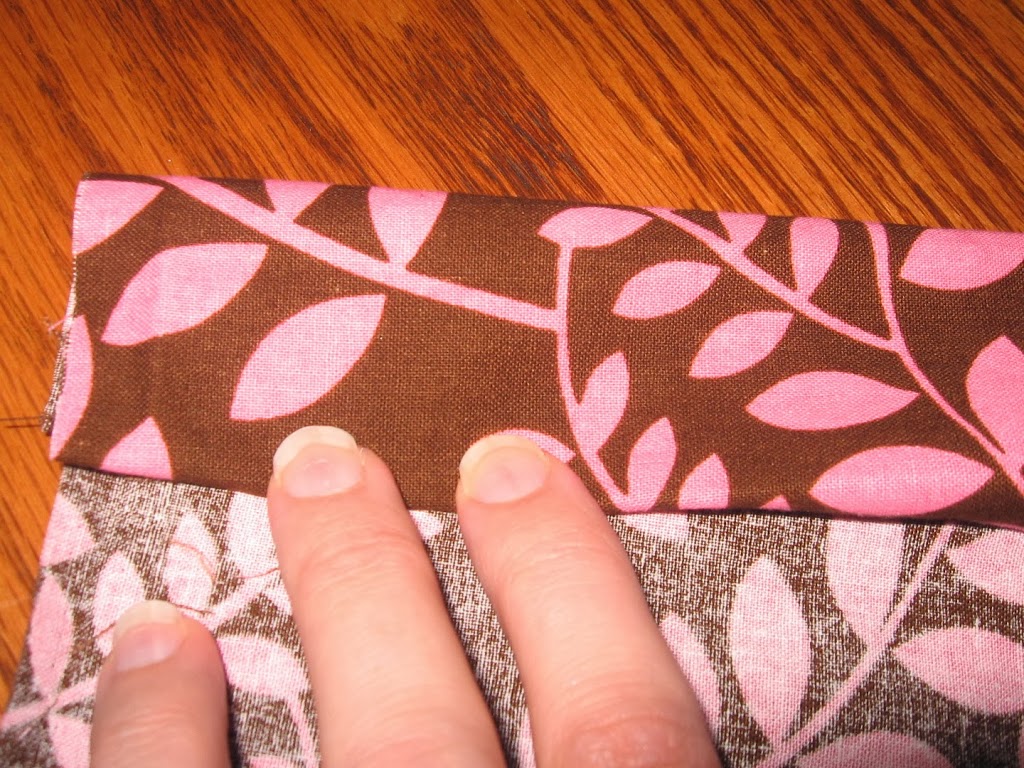
7. When you are done stitching pull your waistband piece upward and lay the apron wrong side up.
8. Fold and iron the top edge of the waistband 1/2 in.
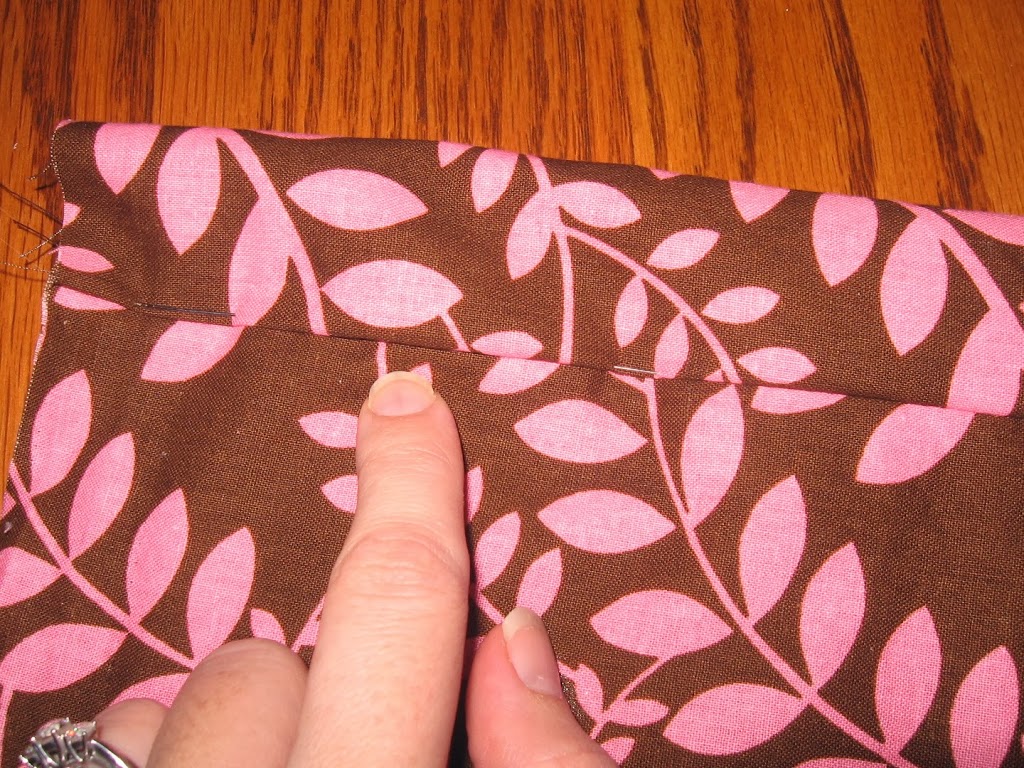
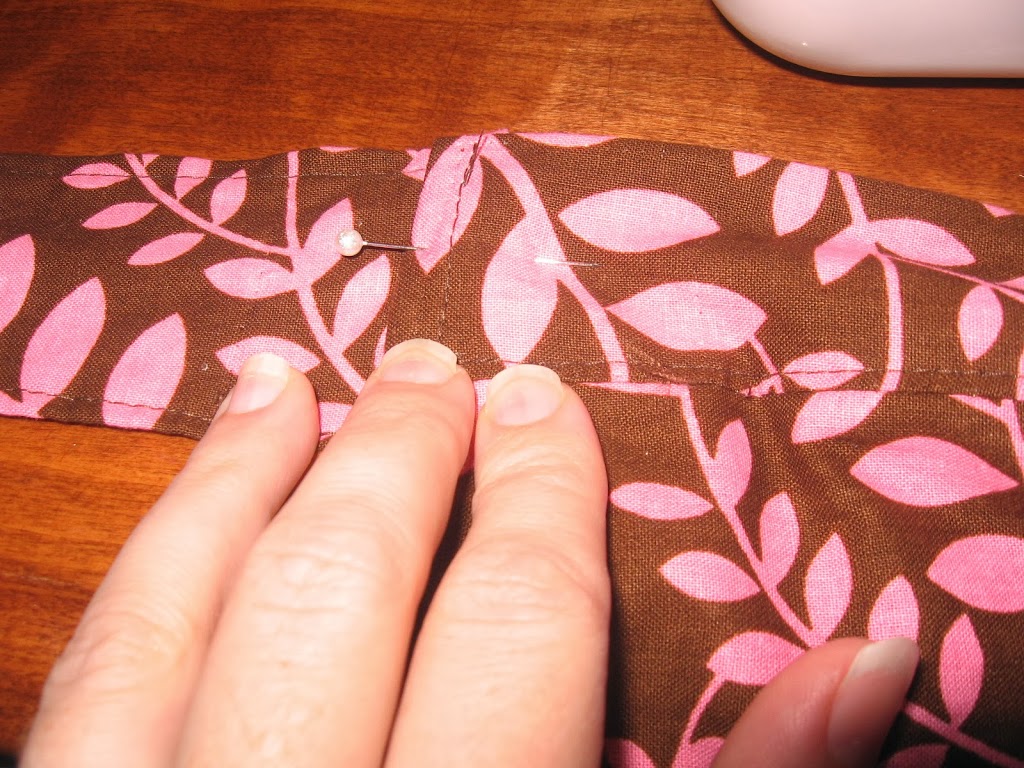
9. Fold your waistband down and pin just below the seam.
10. Once pinned, flip your apron over and top stitch just above the seam line making sure to catch the edge of the waistband on the backside.
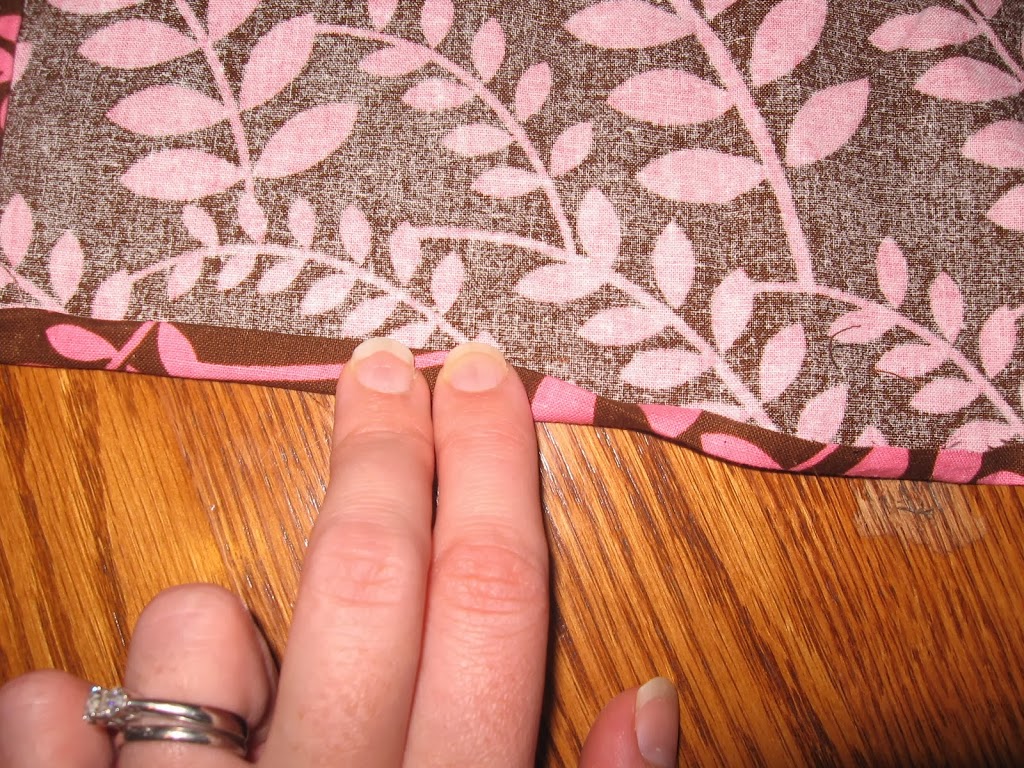
11. Fold your side edges of the body in 1/4 in and iron.
12. Then fold another 1/4 in, iron and stitch on both sides of the body piece.
13. Next, take one of your tie pieces and fold it in half lengthwise.
14. Sew along one short edge and along the long edge with a 1/4 in seam allowance. Leave the last short edge open so you can turn it.
15. Turn right side out, fold raw edge in and top stitch around the the whole edge of the tie piece. Repeat steps 13-15 for the second tie piece.
16. Next, pin your tie piece to your waistband piece and sew.
17. Lastly, hem the bottom by folding up 1/2 in and then another 1/2 in. Then pin and sew.
And you are done!
I hope the instructions were clear enough.
Let me know if you have any questions!


3 Comments